

Disclaimer
The community here at 355nation.net urges you to please use caution and seek professional assistance when performing modifications to your vehicle. Before attempting any modification it is advised that you refer to your Colorado or Canyon service manual or contact a certified mechanic as not all GMT355 trucks are the same. The staff and the associated members are in no way responsible for any damages, injuries or other harm inflicted to your vehicle or yourself which may result in attempting these modifications. The posts and content presented on this site reflect in no way the views of 355nation.net or it’s ownership.
![Image]()
A 355nation How To presented by
1is2many
Project Name
Changing thermostat
Project Description
How to change out a bad thermostat
Skill Level
Moderate
Project Vehicle
Make: Chevrolet
Model: Colorado
Year: 2005
Engine: 2.8L
Power windws: No
Sun Roof: No
Tools Needed
3/8" ratchet, long extension, 10mm socket, 3/8" knuckle attachment, adjustable pliers, plastic clip removal tool, jack, jack stand, wheel lug wrench, something to hold the coolant as it drains out.
Project Time
1 hour or less
Project Cost
$45.00 for the thermostat, could be found for less but I bought at a store that had it in stock rather than waiting.
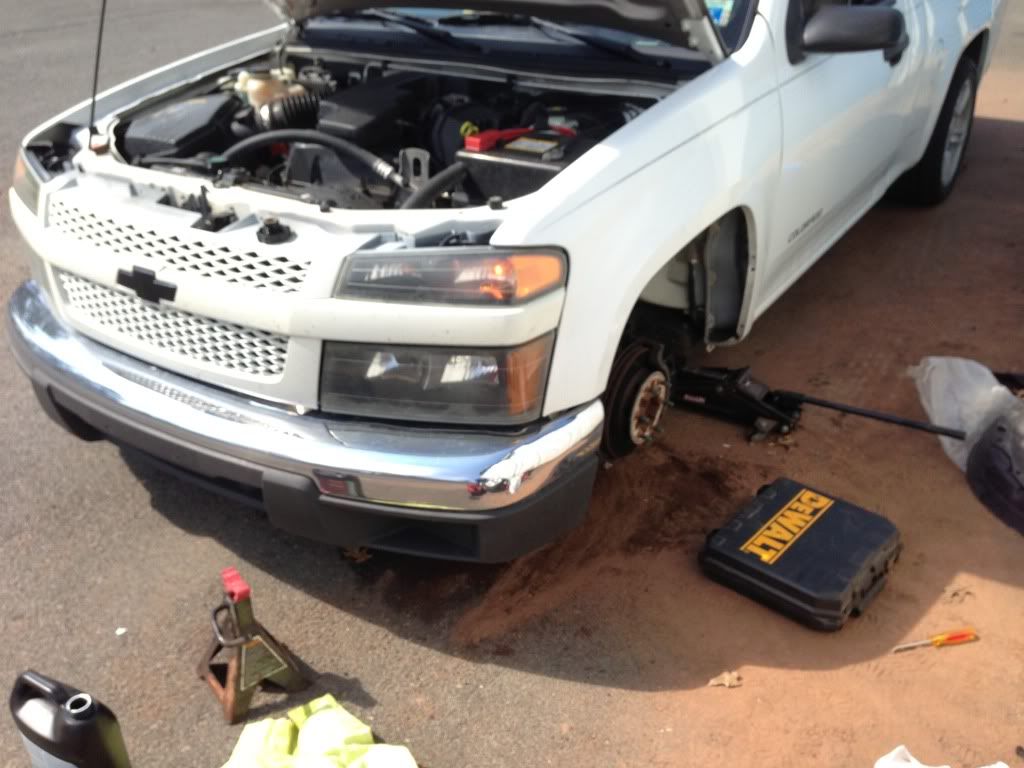
You will have to take off the driver side front wheel and remove the plastic clips holding the shroud and remove the shroud.
1
![Image]()
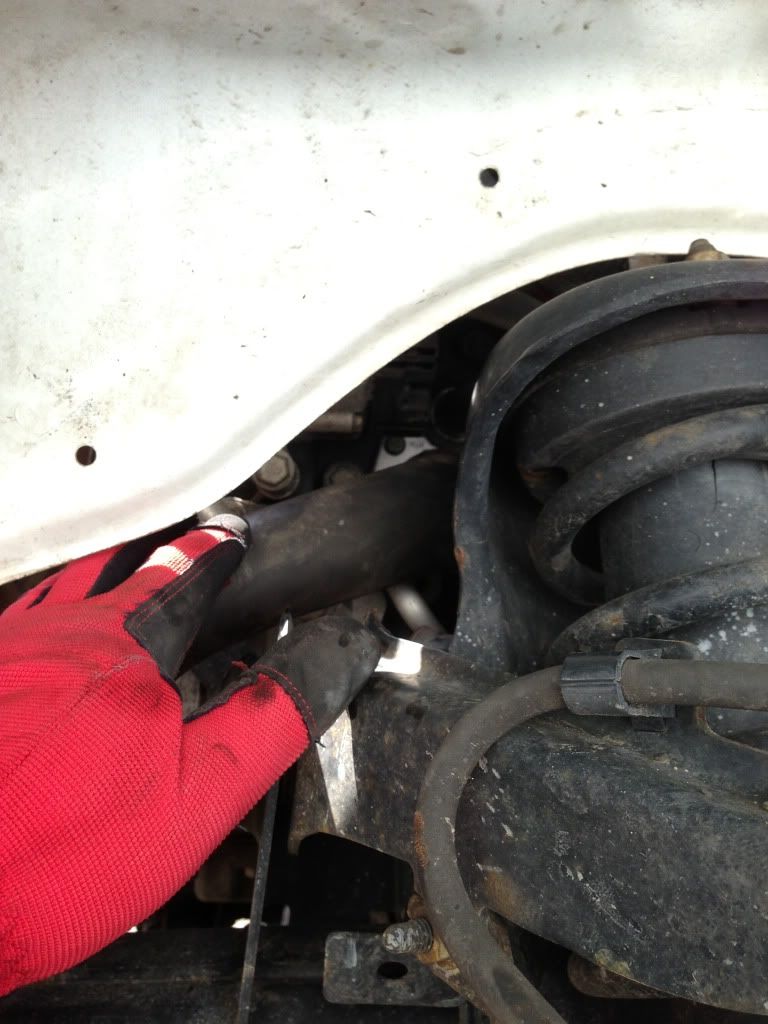
At this point you can look through and see where the coolant line attaches to the thermostat housing.
2 - missing
![Image]()
You will see the two 10mm (they aren't 10mm but everything else was too small or too large and 10mm was the best fit and worked) bolts one on the top left and one on the bottom right of the housing. Before removing either bolt I removed the radiator cap and coolant line on the bottom of the radiator, the side closet to where you are working and let it drain into a container. That way when you remove the old thermostat housing you dont get as much spillage there. Also once you get the housing loose having the tubing free to move around helps a lot.
3
![Image]()
4
![Image]()
After draining that I used the long extension and the knuckle with 10mm socket as you can't get a straight shot at either bolt.
5
![Image]()
Get the bolts loose and get the old unit out into the area you can work on it.
6
![Image]()
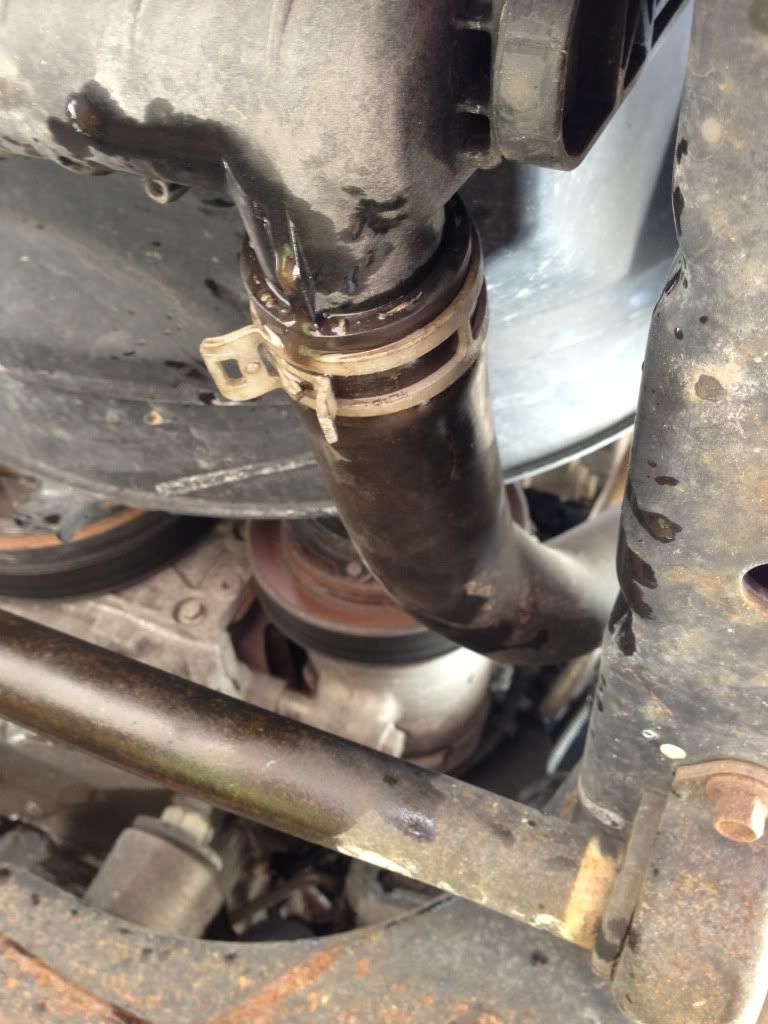
At this point you'll be happy that you removed the line from the radiator. Keep in mind which way is right side up, there is a bump out and a line on the housing, this should be on the upper right hand side as you look in at. Shown below with the new part
7
![Image]()
Loosing the clamp and slide it onto the old housing not the tubing. Also notice the white marking on the tubing lines up with the line on the housing.
8
![Image]()
Now transfer the clamp to the new housing and install it to the coolant line and put the clamp back on, the white mark on the tubing matches the line on the new housing.
9
![Image]()
Before putting the new part on make sure that the old o-ring did not stick to the motor. If it did like mine did then just reach in there and grab it, and clean the area so the new o-ring seals properly.
10
![Image]()
The new part should come with the o-ring already in place. Its time to put it back on, get it back in place. I used some plastic from a plastic bag to hold the bolt on the socket so it wouldn't fall out.
11
![Image]()
Get both bolts started before tightening one of them and try to apply equal pressure to both bolts as you tighten them so the o-ring will seat properly. Torque bolts to 10 ft lbs.
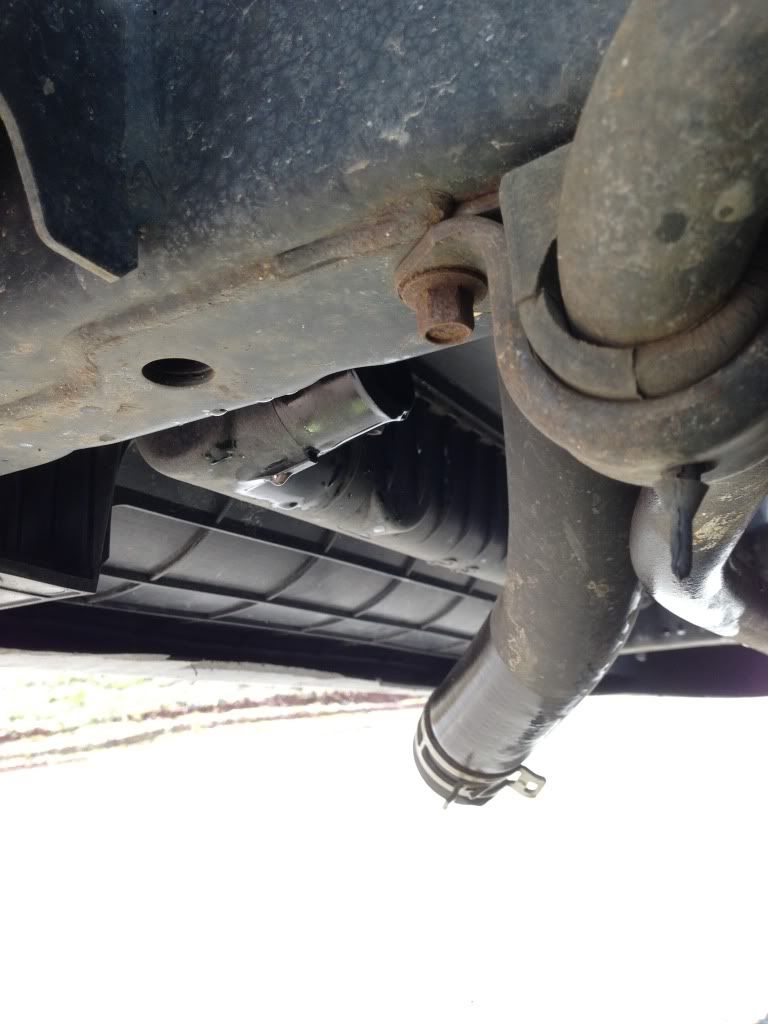
After installing the new housing/thermostat put the coolant line back on the radiator.
12
![Image]()
At this point you need to add more coolant, then start the truck (leave radiator cap off) and let warm up until the thermostat opens up and allows the air bubbles to come out. Adding more coolant if needed as the air comes out the coolant level will drop. I did this with the shroud and tire still off in case there was a leak I wouldn't have to take that stuff all apart again.
For information on how to change coolant please reference: How To: Change Coolant and Inspect Cooling System
13
![Image]()
You'll notice in the pic above I had to remove the jack stand and lower the truck to a level point so the trapped air could get out. Once you have proper coolant level and proper temperature and no leaks put the shroud and clips back in and put the wheel back on and clean up!
The community here at 355nation.net urges you to please use caution and seek professional assistance when performing modifications to your vehicle. Before attempting any modification it is advised that you refer to your Colorado or Canyon service manual or contact a certified mechanic as not all GMT355 trucks are the same. The staff and the associated members are in no way responsible for any damages, injuries or other harm inflicted to your vehicle or yourself which may result in attempting these modifications. The posts and content presented on this site reflect in no way the views of 355nation.net or it’s ownership.
A 355nation How To presented by
1is2many
Project Name
Changing thermostat
Project Description
How to change out a bad thermostat
Skill Level
Moderate
Project Vehicle
Make: Chevrolet
Model: Colorado
Year: 2005
Engine: 2.8L
Power windws: No
Sun Roof: No
Tools Needed
3/8" ratchet, long extension, 10mm socket, 3/8" knuckle attachment, adjustable pliers, plastic clip removal tool, jack, jack stand, wheel lug wrench, something to hold the coolant as it drains out.
Project Time
1 hour or less
Project Cost
$45.00 for the thermostat, could be found for less but I bought at a store that had it in stock rather than waiting.
You will have to take off the driver side front wheel and remove the plastic clips holding the shroud and remove the shroud.
1

At this point you can look through and see where the coolant line attaches to the thermostat housing.
2 - missing
You will see the two 10mm (they aren't 10mm but everything else was too small or too large and 10mm was the best fit and worked) bolts one on the top left and one on the bottom right of the housing. Before removing either bolt I removed the radiator cap and coolant line on the bottom of the radiator, the side closet to where you are working and let it drain into a container. That way when you remove the old thermostat housing you dont get as much spillage there. Also once you get the housing loose having the tubing free to move around helps a lot.
3
4
After draining that I used the long extension and the knuckle with 10mm socket as you can't get a straight shot at either bolt.
5

Get the bolts loose and get the old unit out into the area you can work on it.
6

At this point you'll be happy that you removed the line from the radiator. Keep in mind which way is right side up, there is a bump out and a line on the housing, this should be on the upper right hand side as you look in at. Shown below with the new part
7

Loosing the clamp and slide it onto the old housing not the tubing. Also notice the white marking on the tubing lines up with the line on the housing.
8

Now transfer the clamp to the new housing and install it to the coolant line and put the clamp back on, the white mark on the tubing matches the line on the new housing.
9

Before putting the new part on make sure that the old o-ring did not stick to the motor. If it did like mine did then just reach in there and grab it, and clean the area so the new o-ring seals properly.
10

The new part should come with the o-ring already in place. Its time to put it back on, get it back in place. I used some plastic from a plastic bag to hold the bolt on the socket so it wouldn't fall out.
11

Get both bolts started before tightening one of them and try to apply equal pressure to both bolts as you tighten them so the o-ring will seat properly. Torque bolts to 10 ft lbs.
After installing the new housing/thermostat put the coolant line back on the radiator.
12

At this point you need to add more coolant, then start the truck (leave radiator cap off) and let warm up until the thermostat opens up and allows the air bubbles to come out. Adding more coolant if needed as the air comes out the coolant level will drop. I did this with the shroud and tire still off in case there was a leak I wouldn't have to take that stuff all apart again.
For information on how to change coolant please reference: How To: Change Coolant and Inspect Cooling System
13
You'll notice in the pic above I had to remove the jack stand and lower the truck to a level point so the trapped air could get out. Once you have proper coolant level and proper temperature and no leaks put the shroud and clips back in and put the wheel back on and clean up!


