Well since I never put everything into one thread, figured I'd finally put together a build thread.
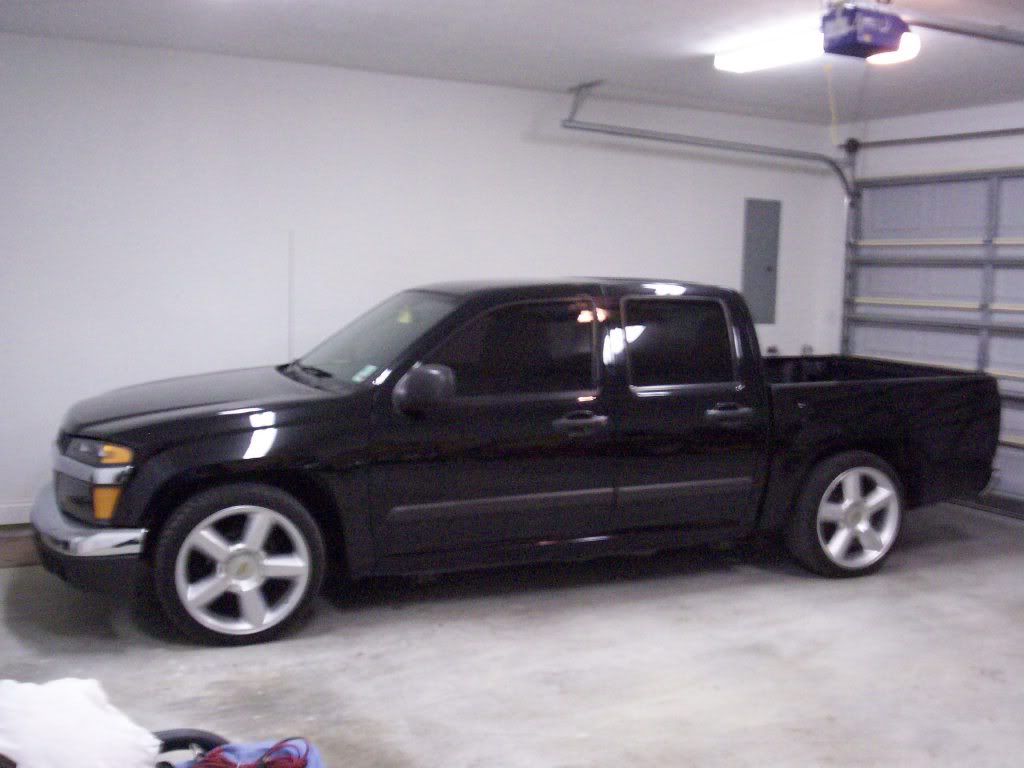
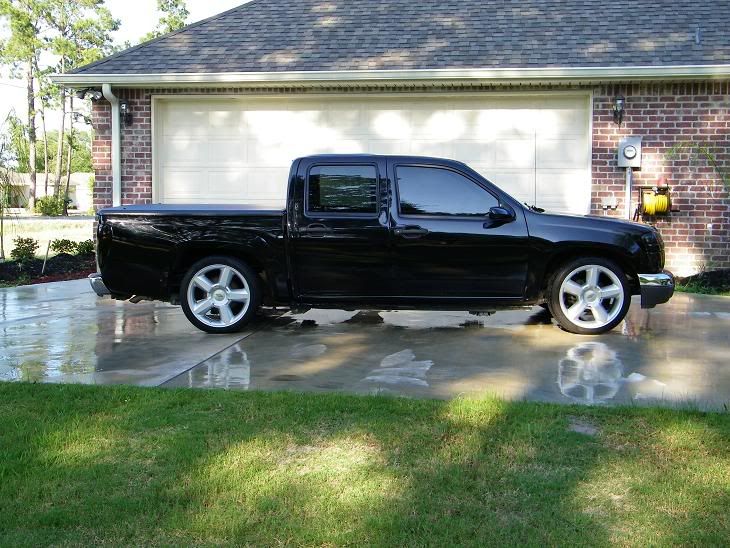
No pics of it stock, since it was lowered 3/3 and the wheels went on it the first night I had it.
![Image]()
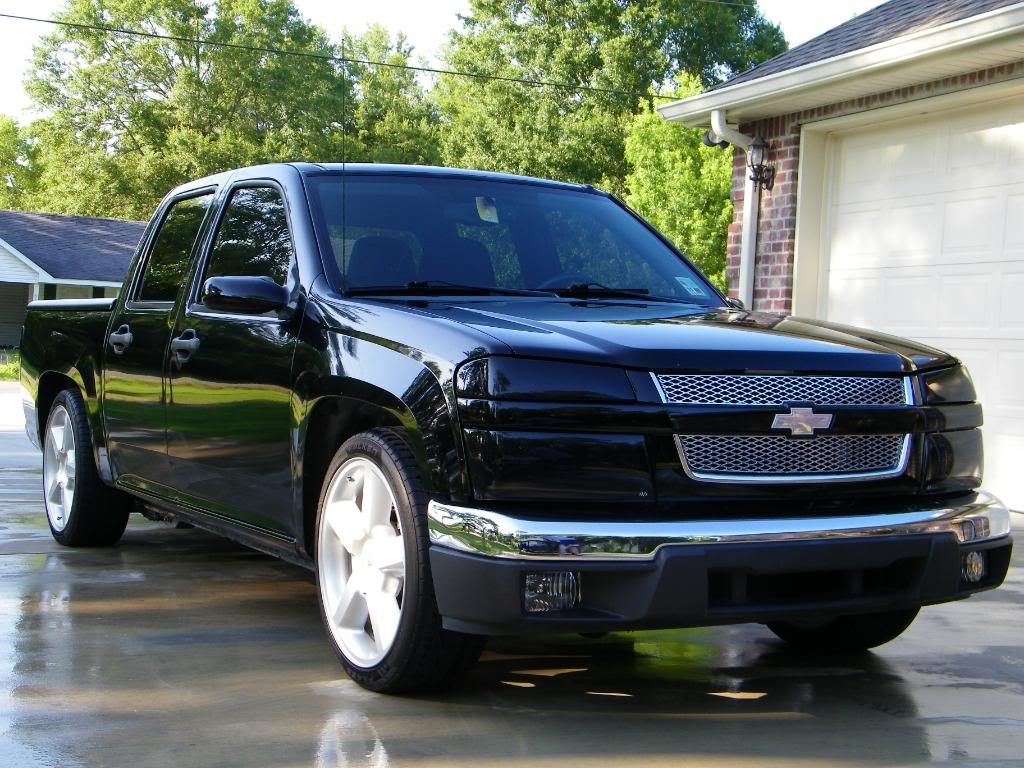
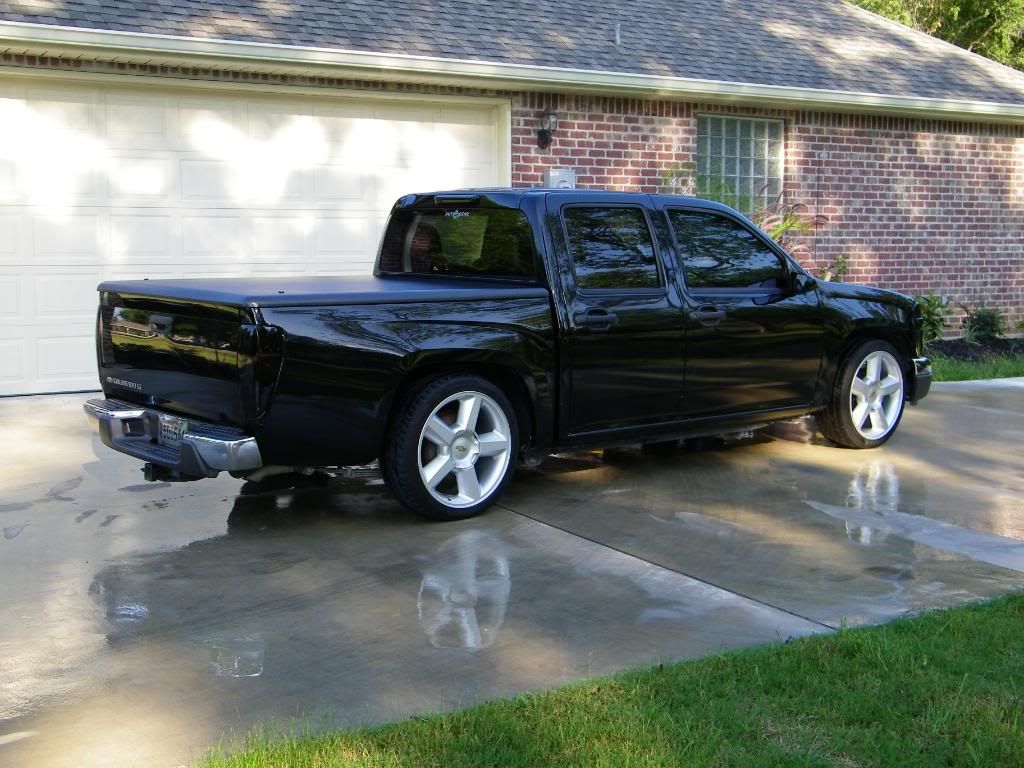
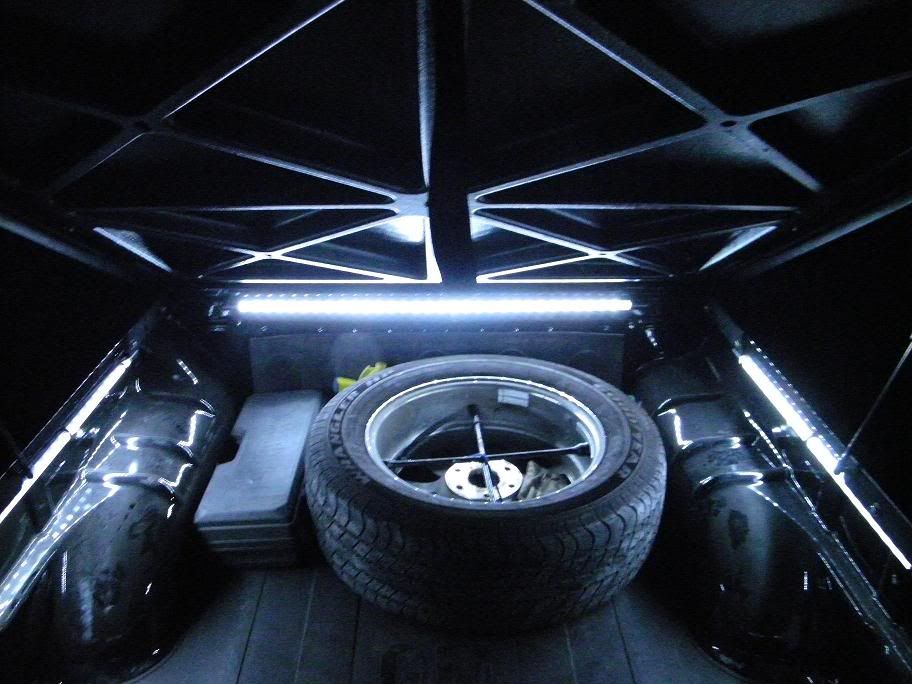
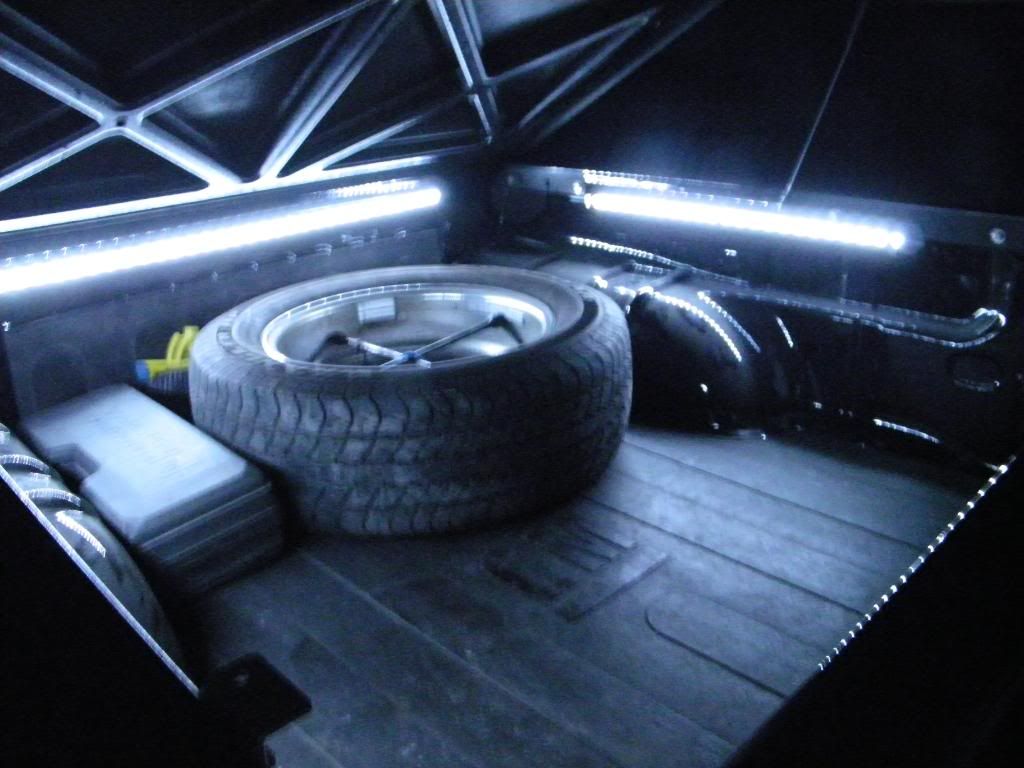
Then had the windows tinted, added headlight covers, the GM accessory grill with billet bow tie, SS mirriors, smoked tails and 3rd brake light, also added a undercover bedcover with LED bed lights, and removed all molding/badges.
![Image]()
![Image]()
![Image]()
![Image]()
![Image]()
![Image]()
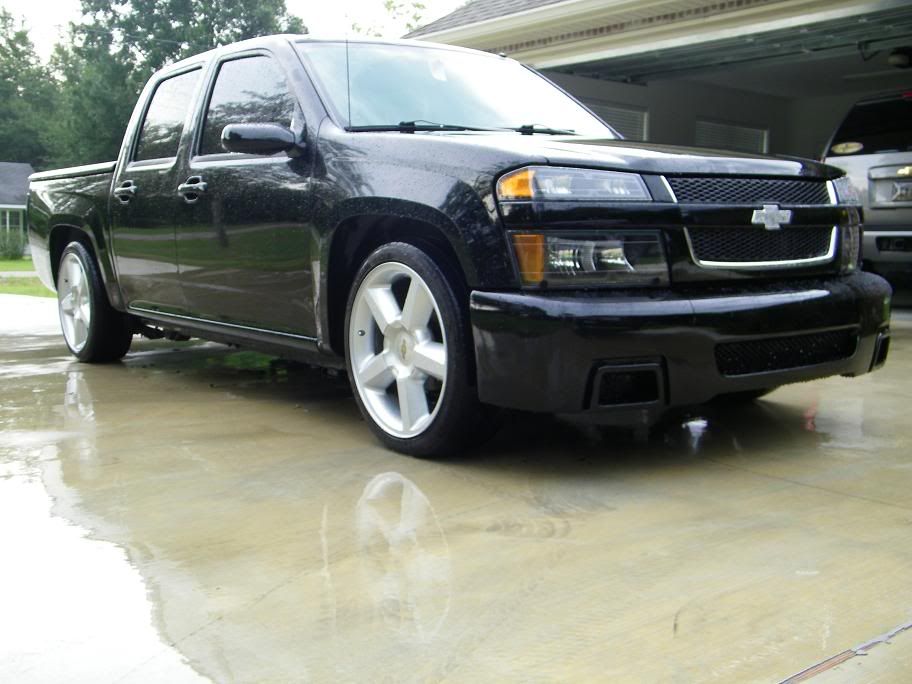
Then blacked out the grill mesh, shortened the stock antenna, painted door handles and tailgate handle, and added the SS Gen 2 bumper cover.
![Image]()
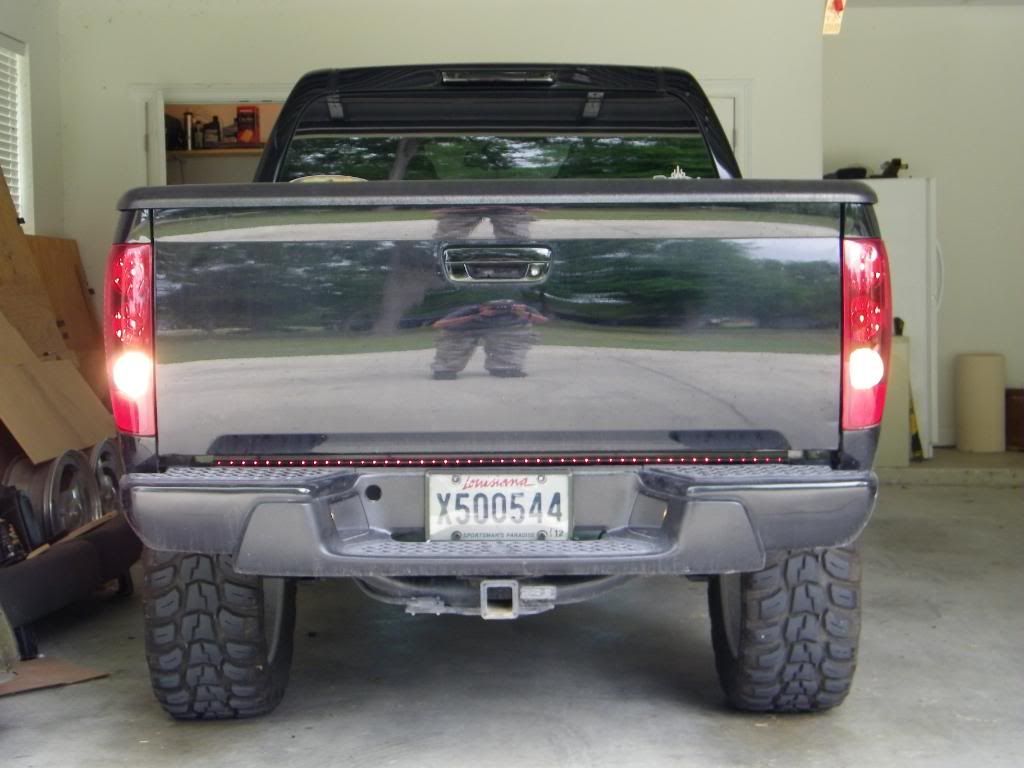
Somewhere along the lines I added a SS rollpan, but forgot to snap a pic of the truck lowered with the rollpan.
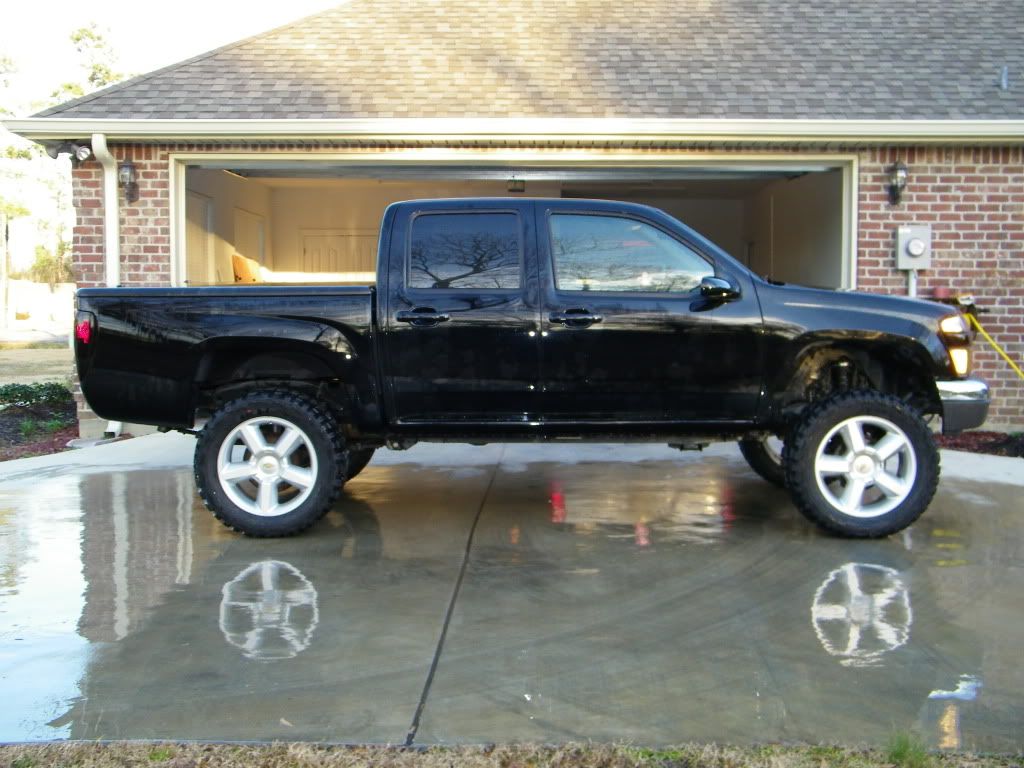
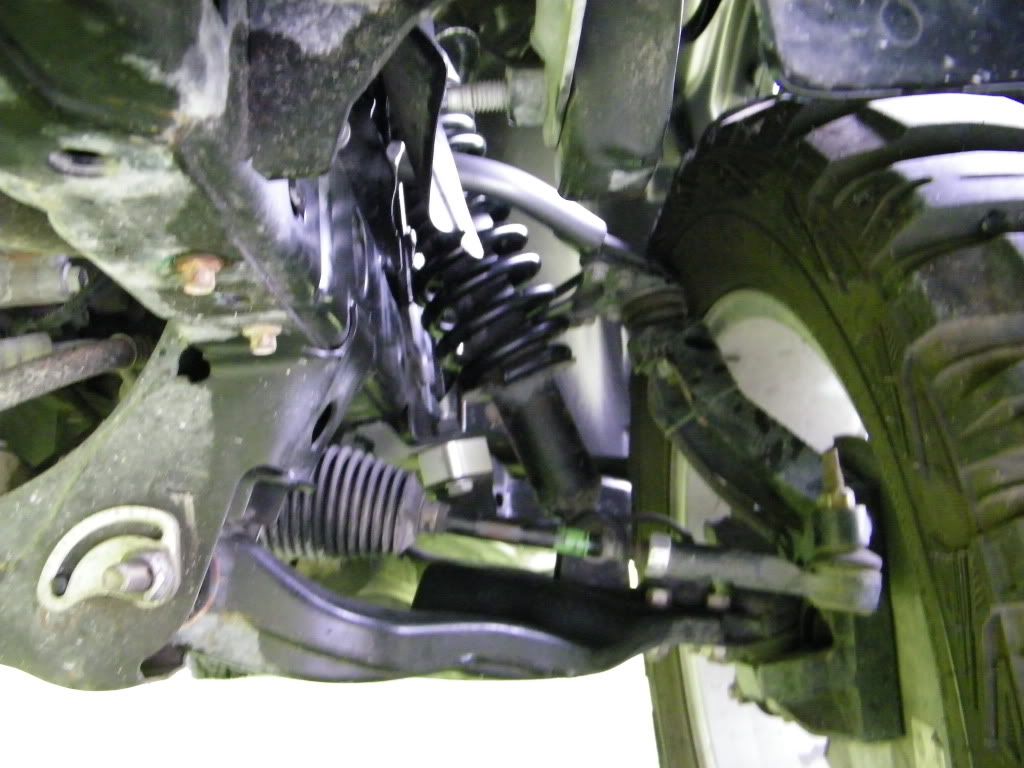
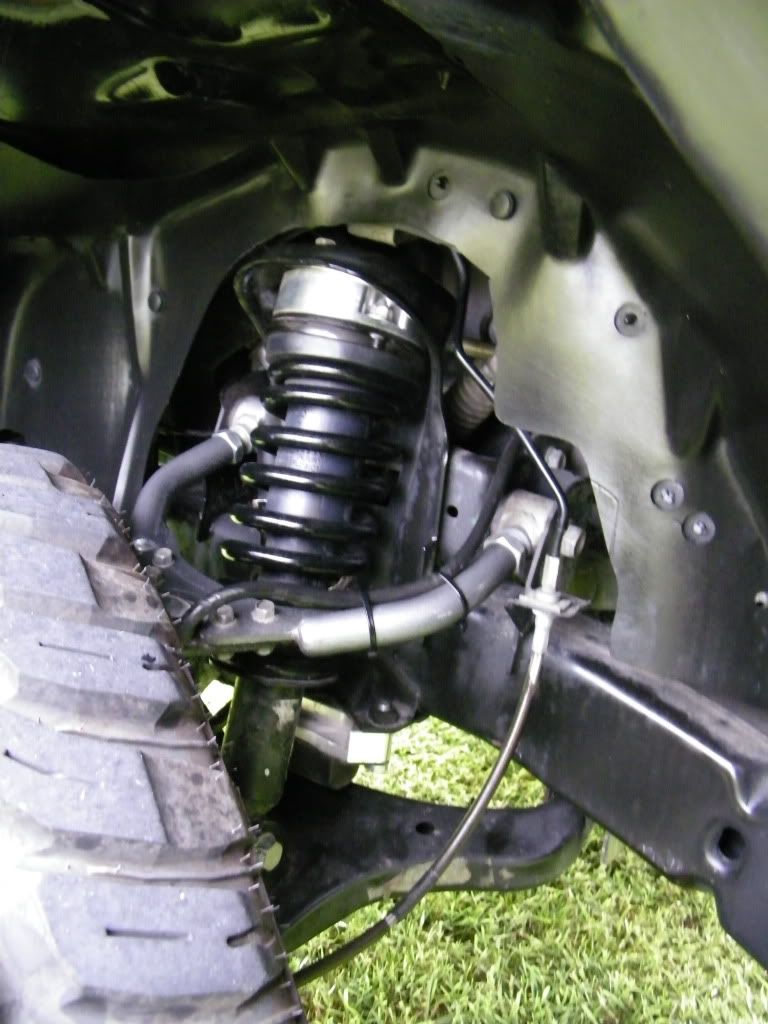
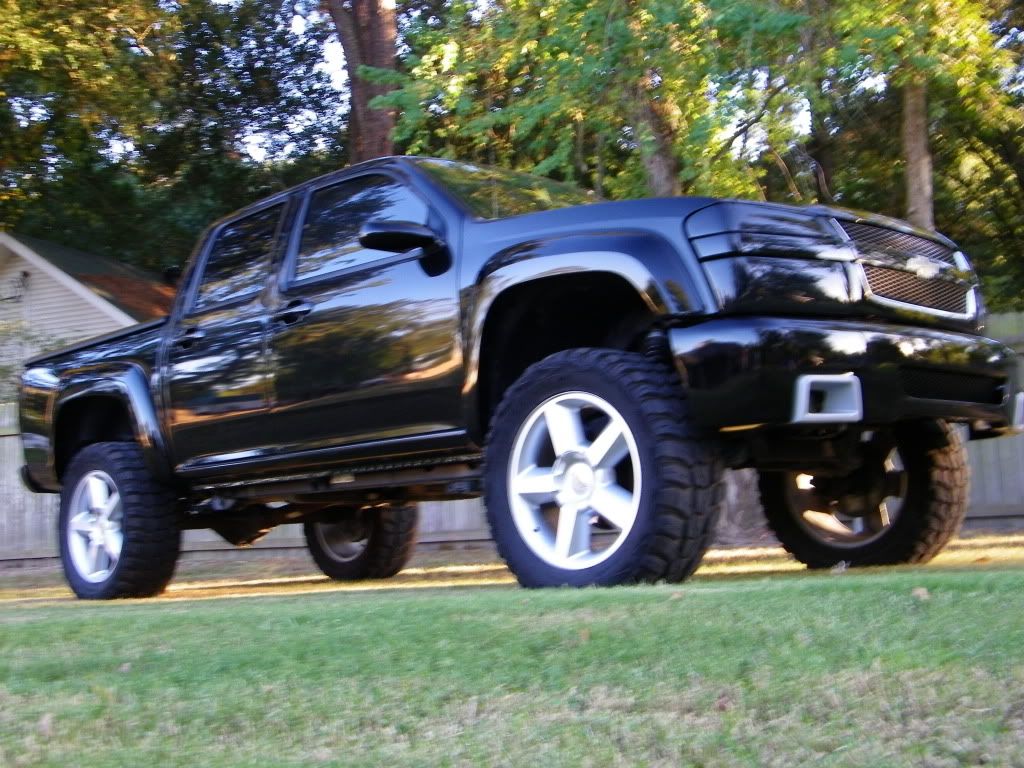
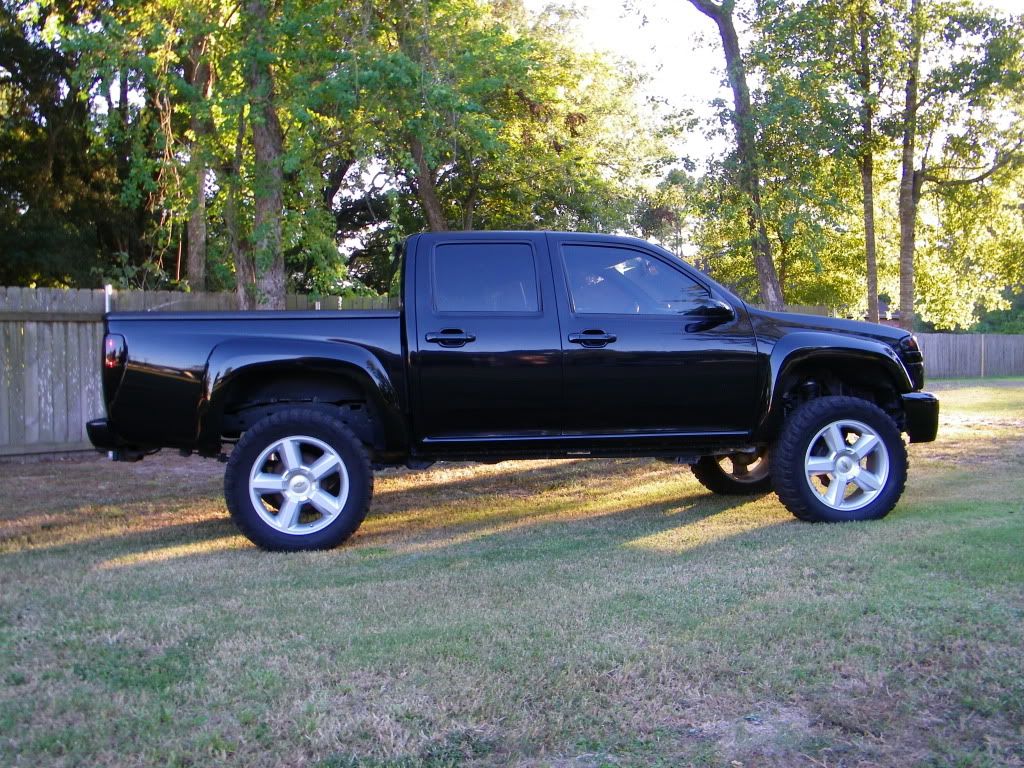
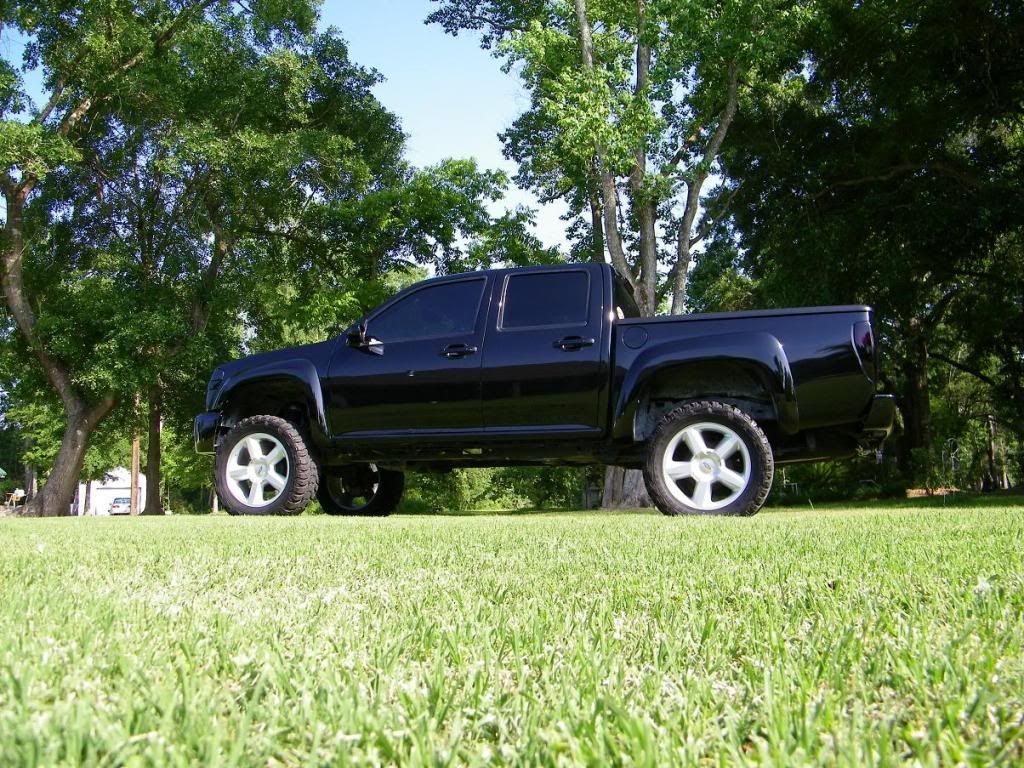
Then had a little change of heart and decided to lift the truck.
5" CST spindle, 2.5" strut spacer, and DHP 1/2" longer and adjustable upper control arms in the front, and SOA in the rear.
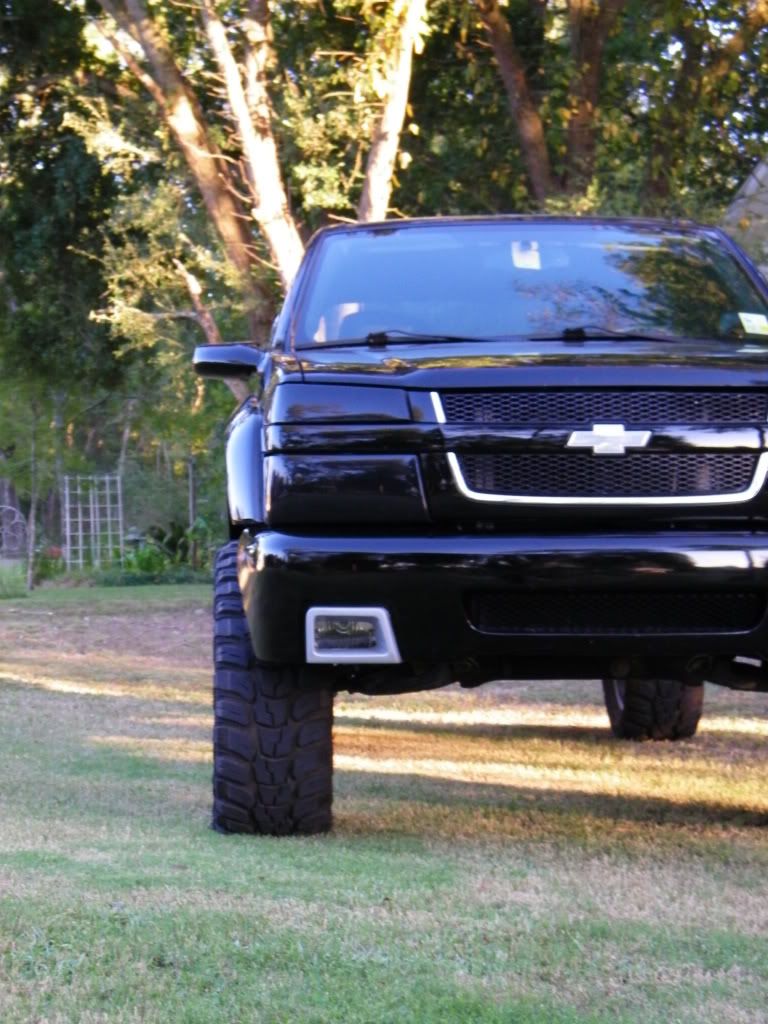
Took the bumper cover off until I was sure that I wanted to put it back on, didn't want to cut it if I was possibly gonna sell it.
![Image]()
![Image]()
![Image]()
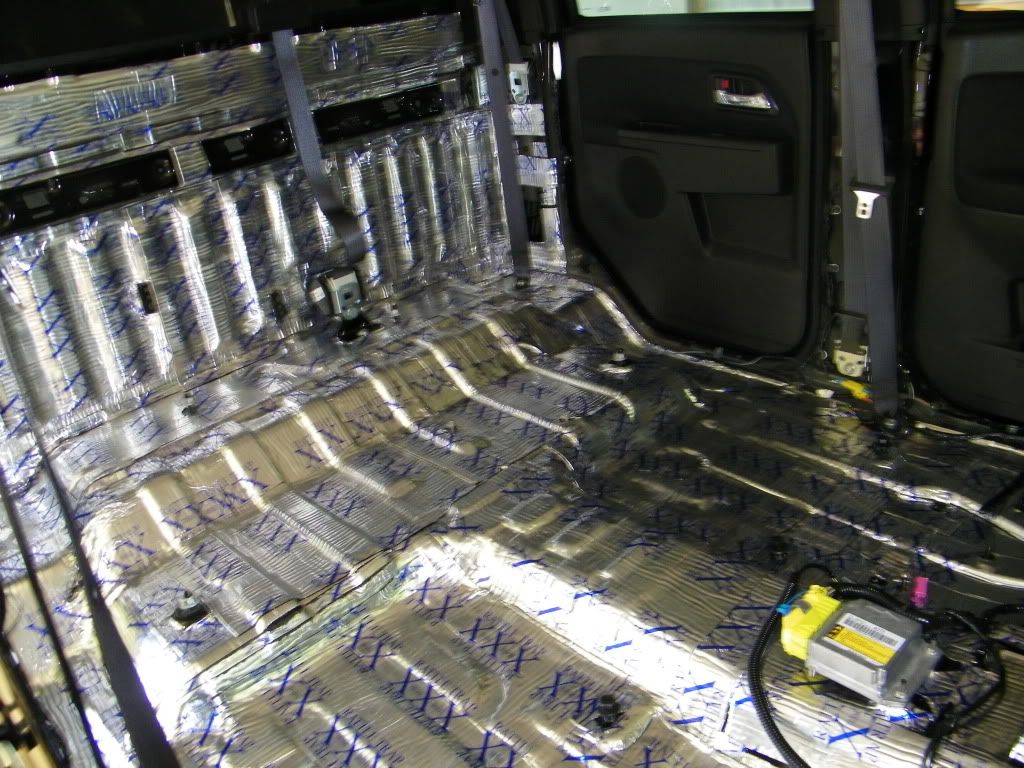
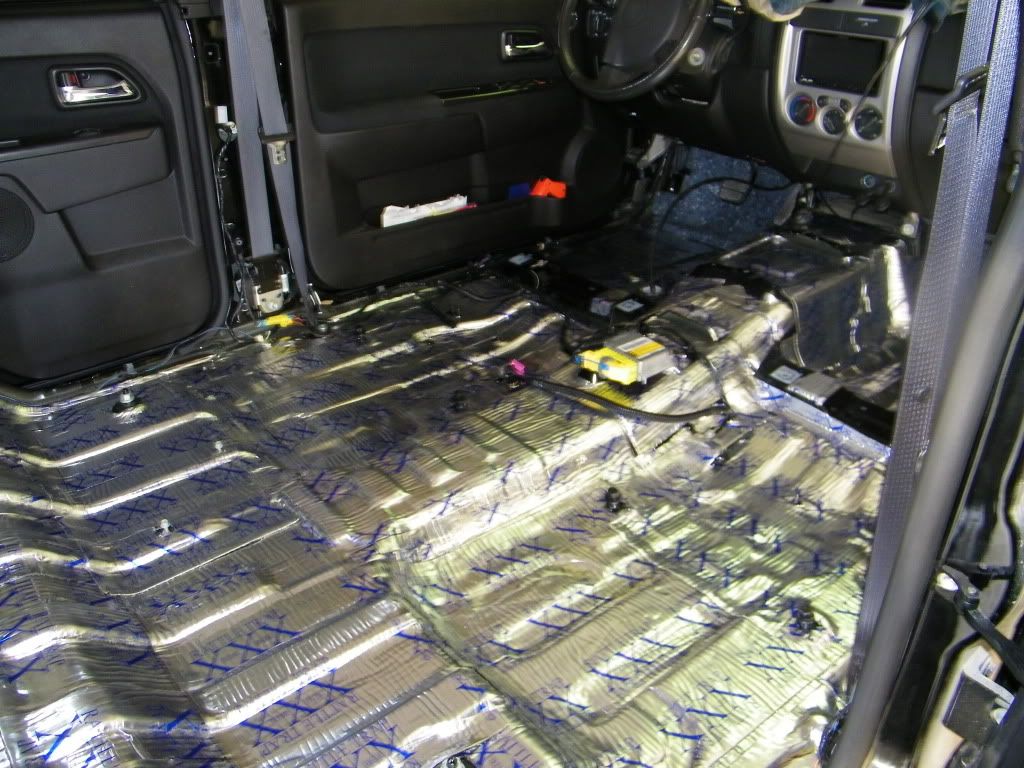
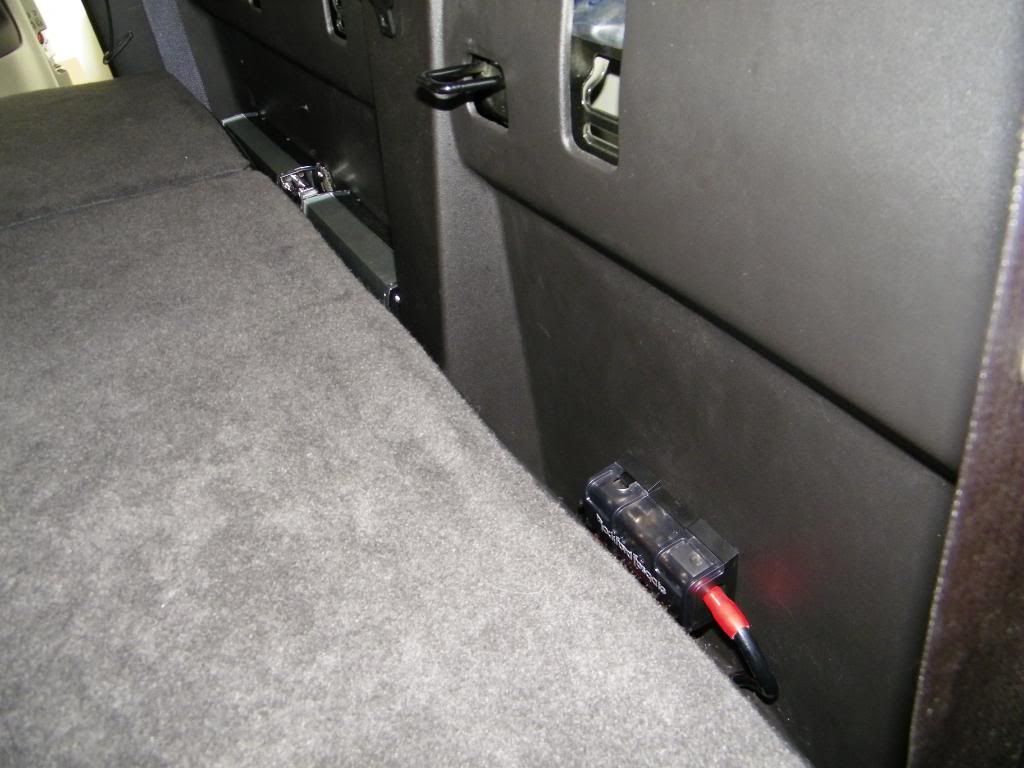
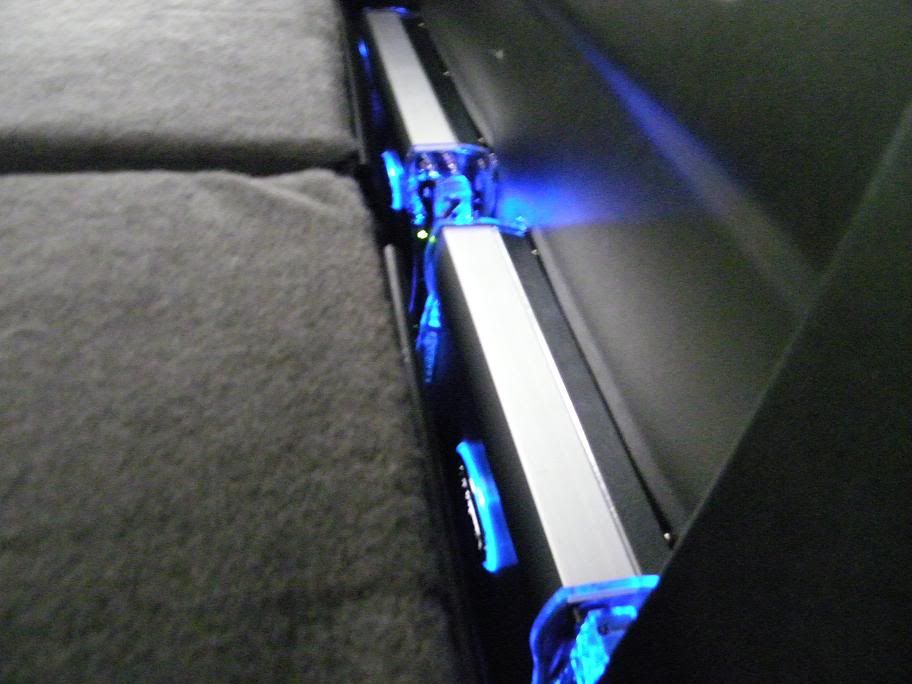
Then it was time to upgrade the music, built a box for a JL 10w3 and installed the Cadence amplifiers and components, Pioneer AVH-4200 double din dvd w/XM tuner, and installed 100 sq ft of fatmat.
![Image]()
![Image]()
![Image]()
![Image]()
![Image]()
![Image]()
![Image]()
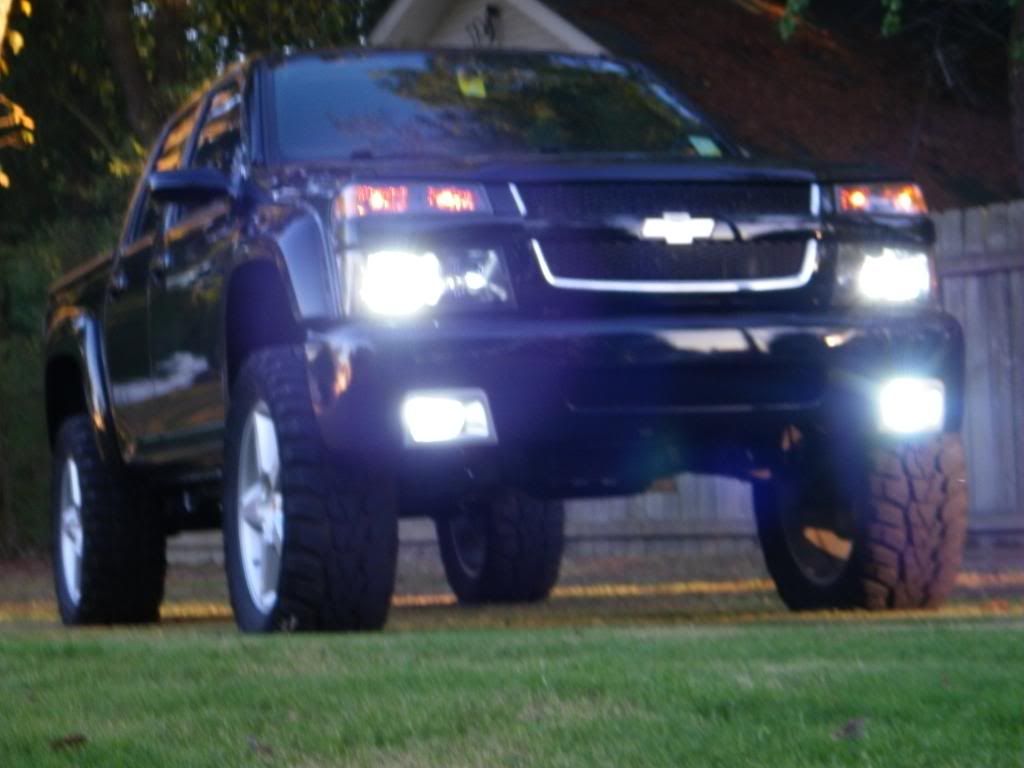
Well got her all back together bumper cover back on vents painted silver, fogs back on and re-located to match the openings on the bumper, 6K HID's in the lows and fogs, supermod amber sequential drl/blinkers, painted Z71 flares, smmoth gas door, and removed roll pan and put painted factory bumper and hitch back on.
![Image]()
![Image]()
![Image]()
![Image]()
![Image]()
![Image]()
Modded a set of 9005 headlight bulbs to fit in the reverse lights.
![Image]()
Stock right, 9005 bulb left.
![Image]()
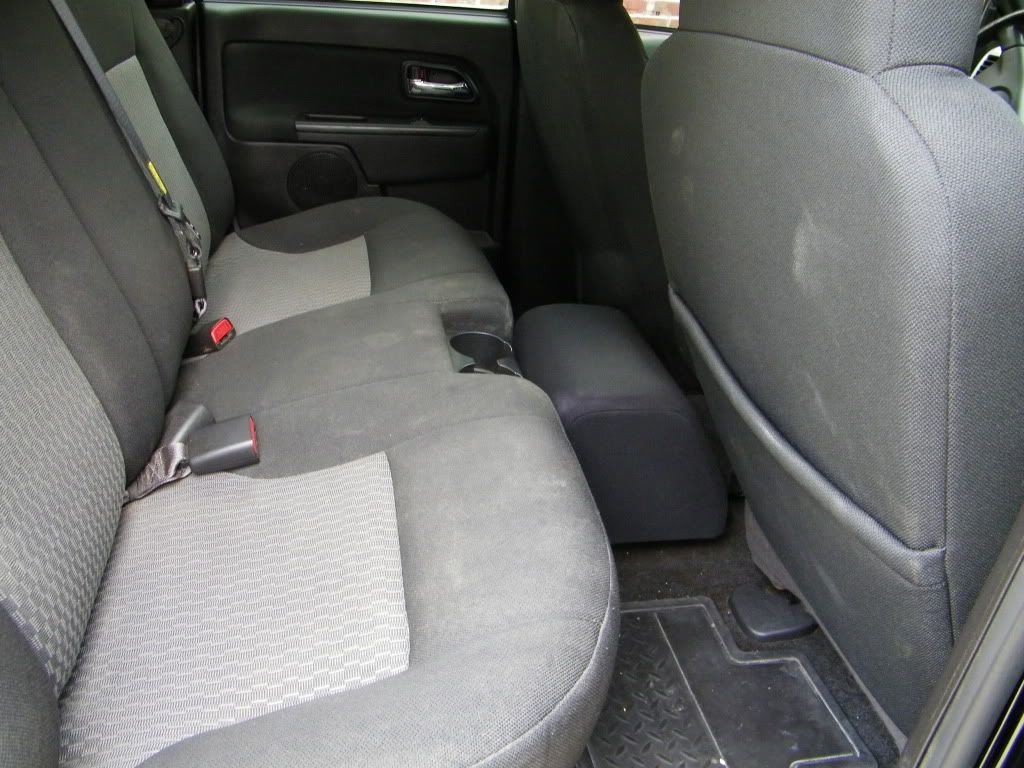
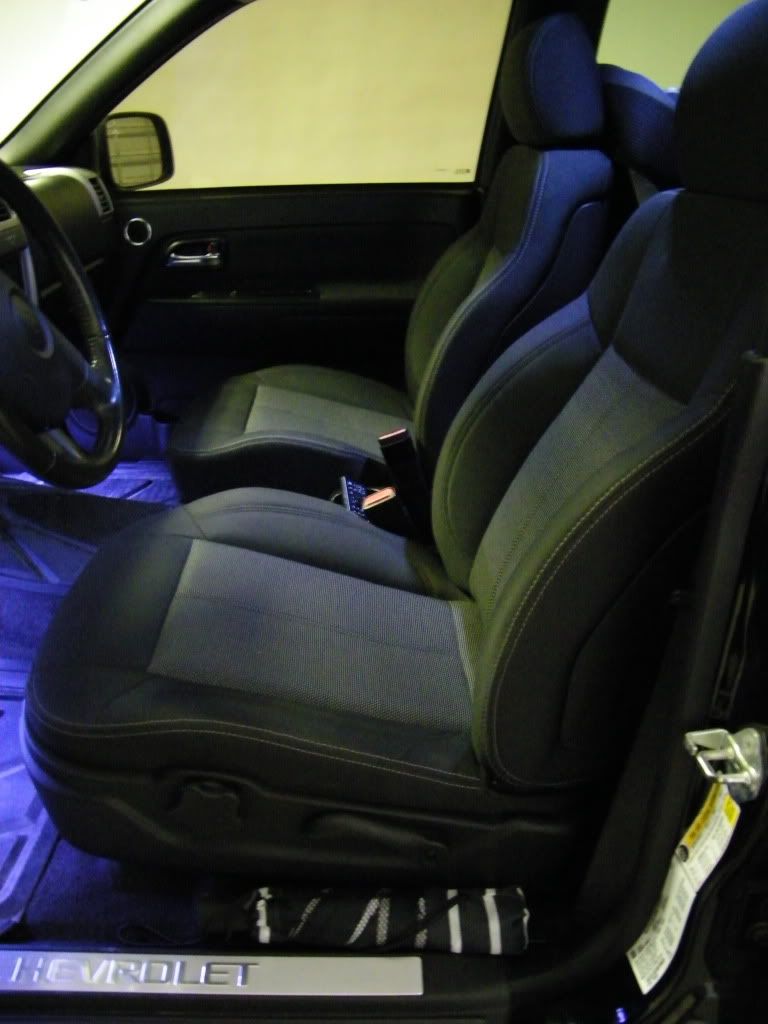
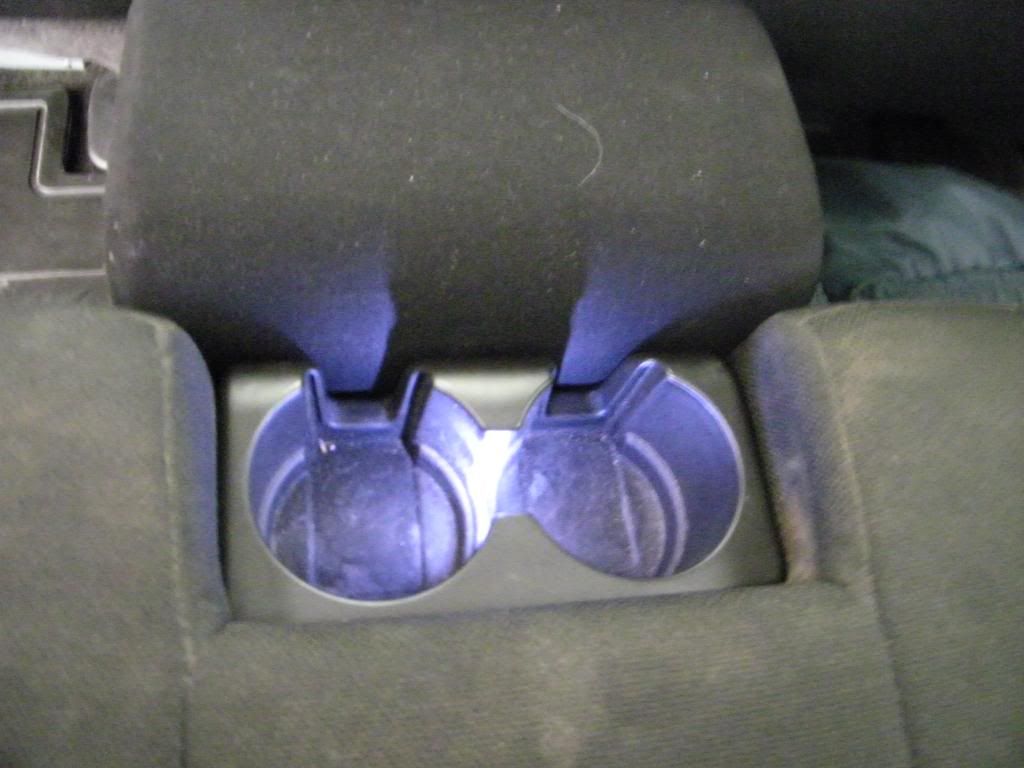
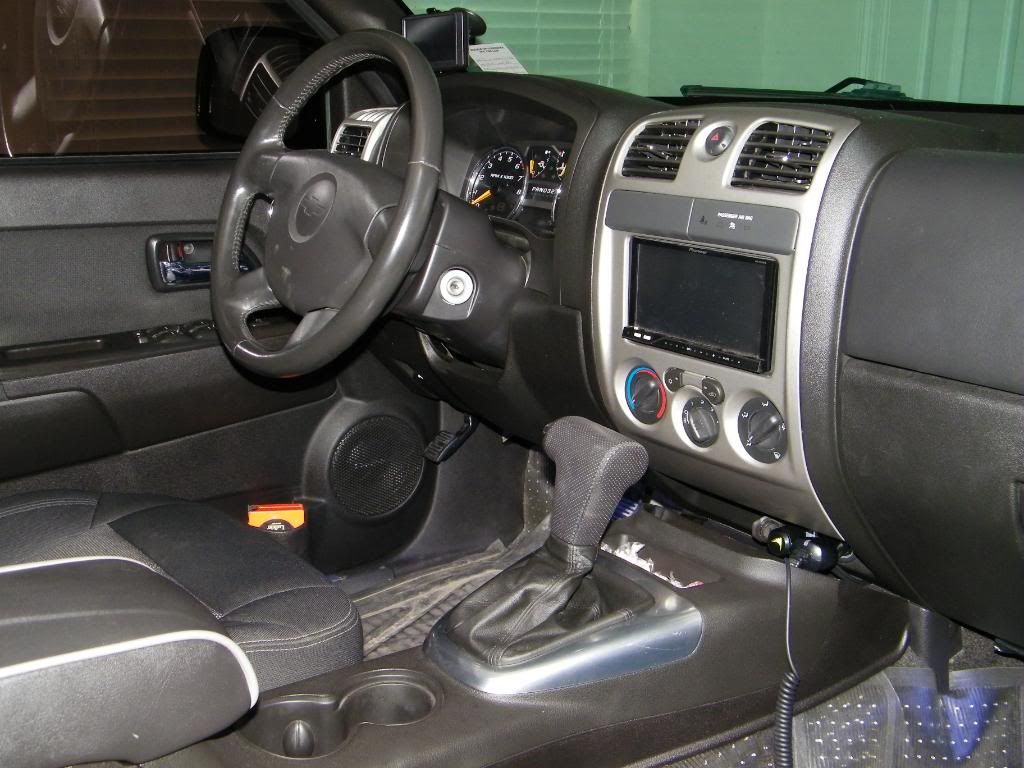
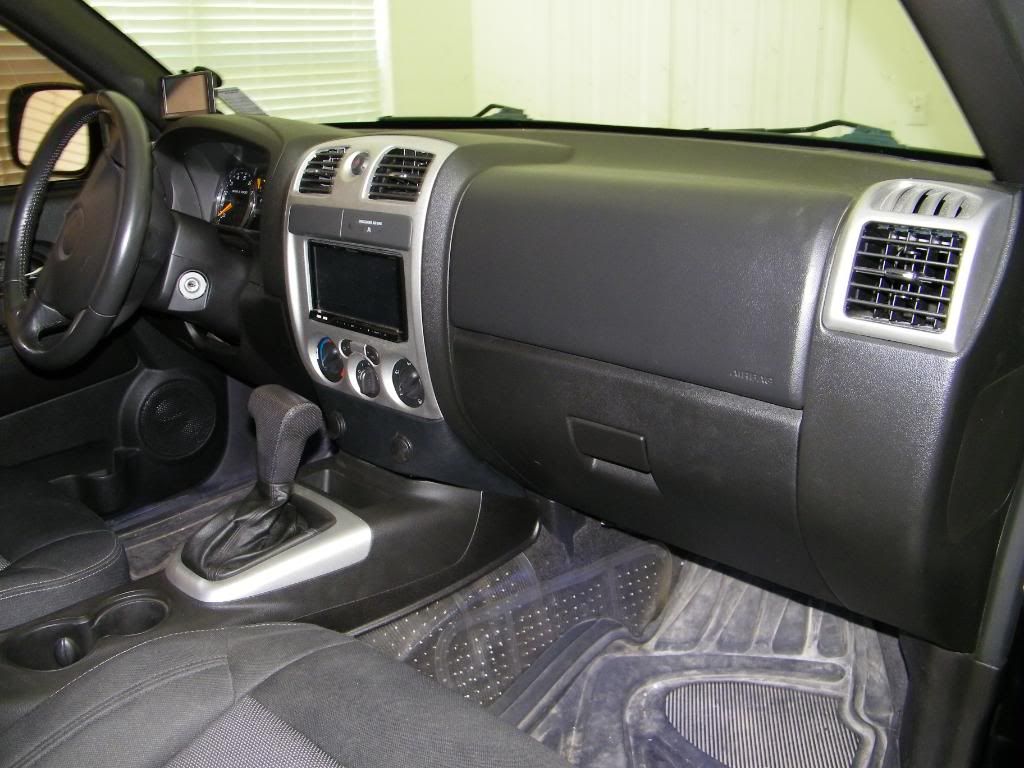
Next came the H3 cloth buckets, Console with H3 shifter, and custom filler panel to fill the gap. LED footwell lights, LED cupholder mod, and Supermod white LED dome light had been installed earlier.
![Image]()
![Image]()
![Image]()
![Image]()
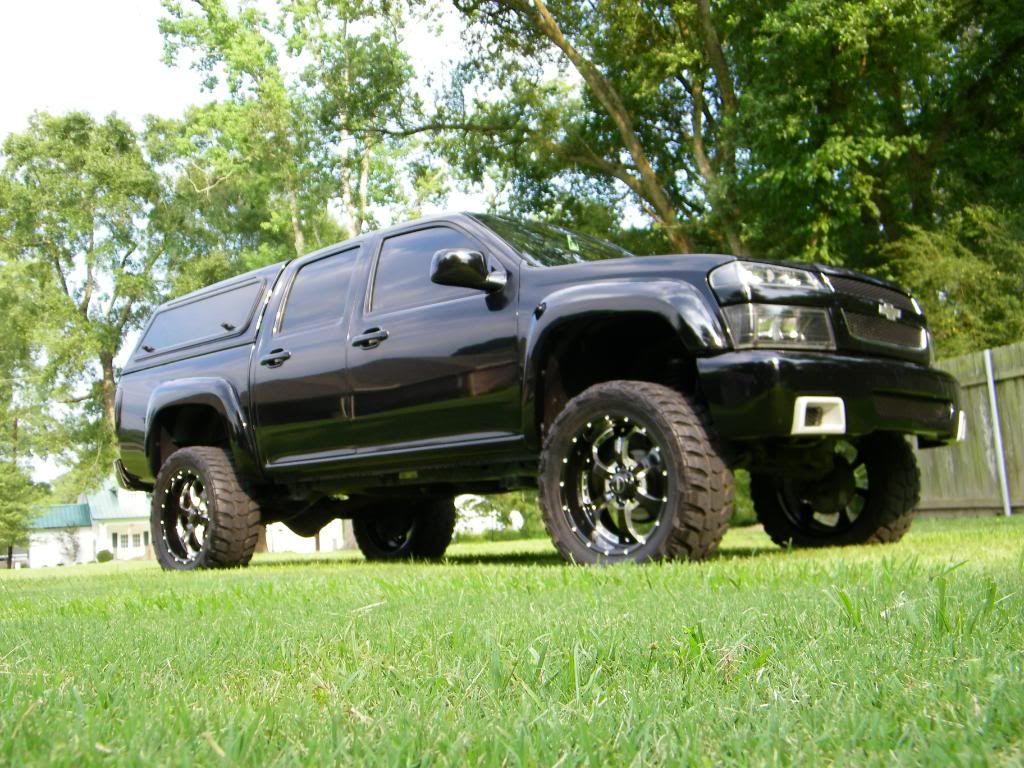
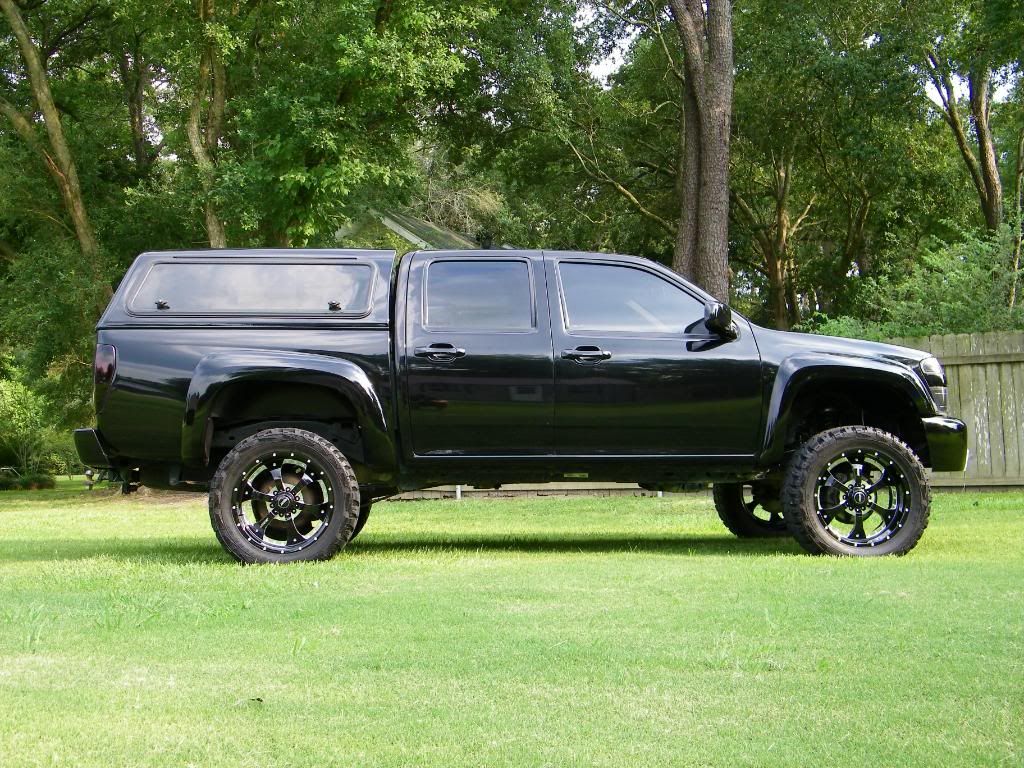
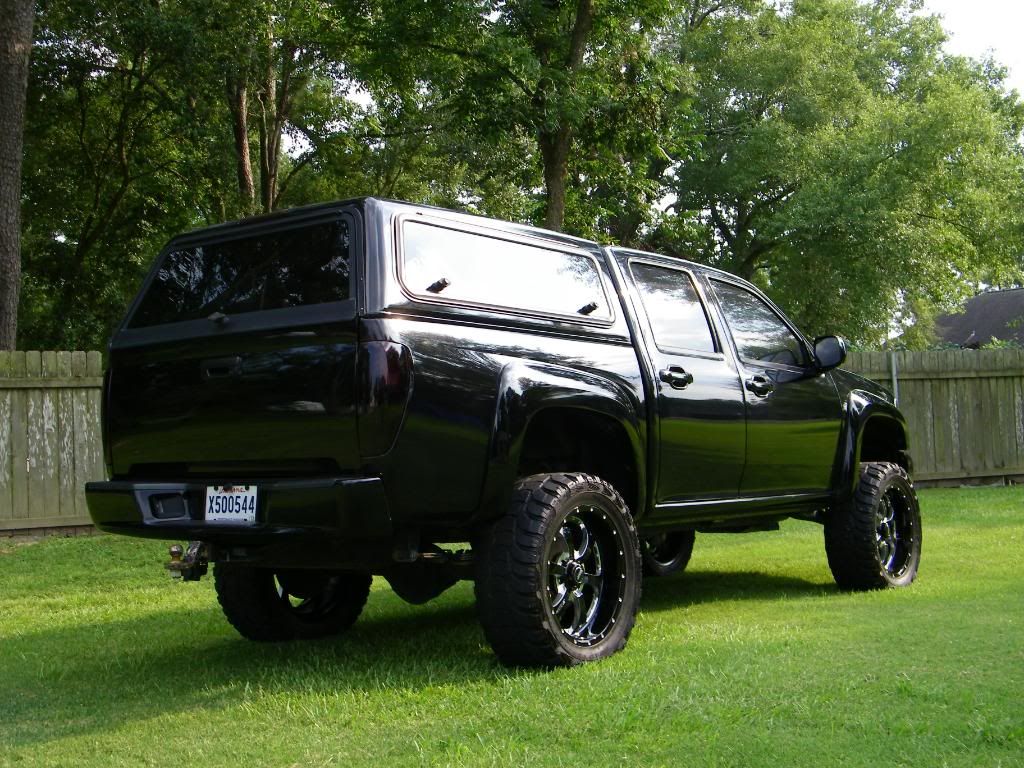
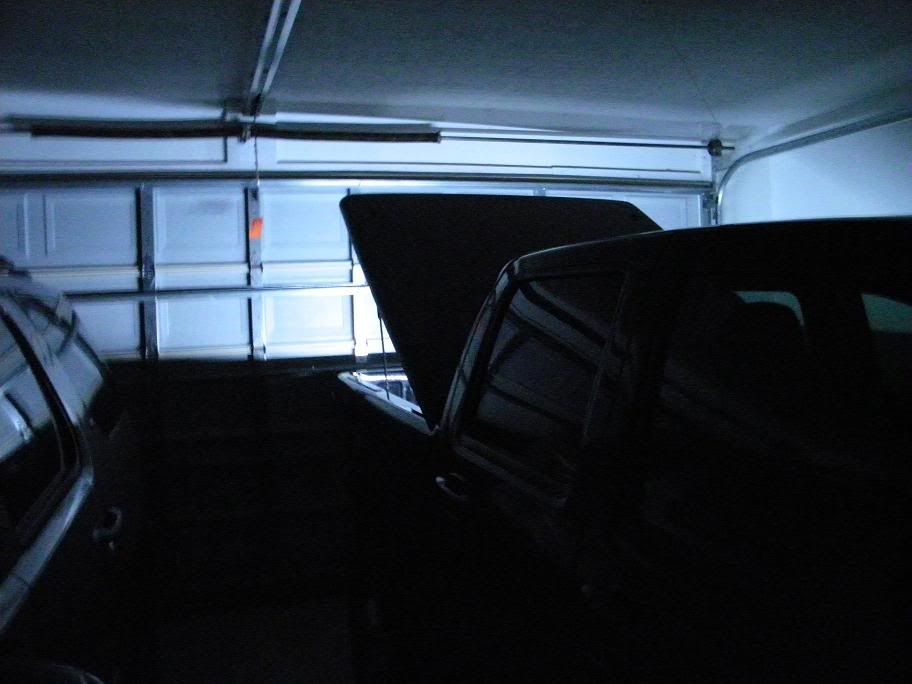
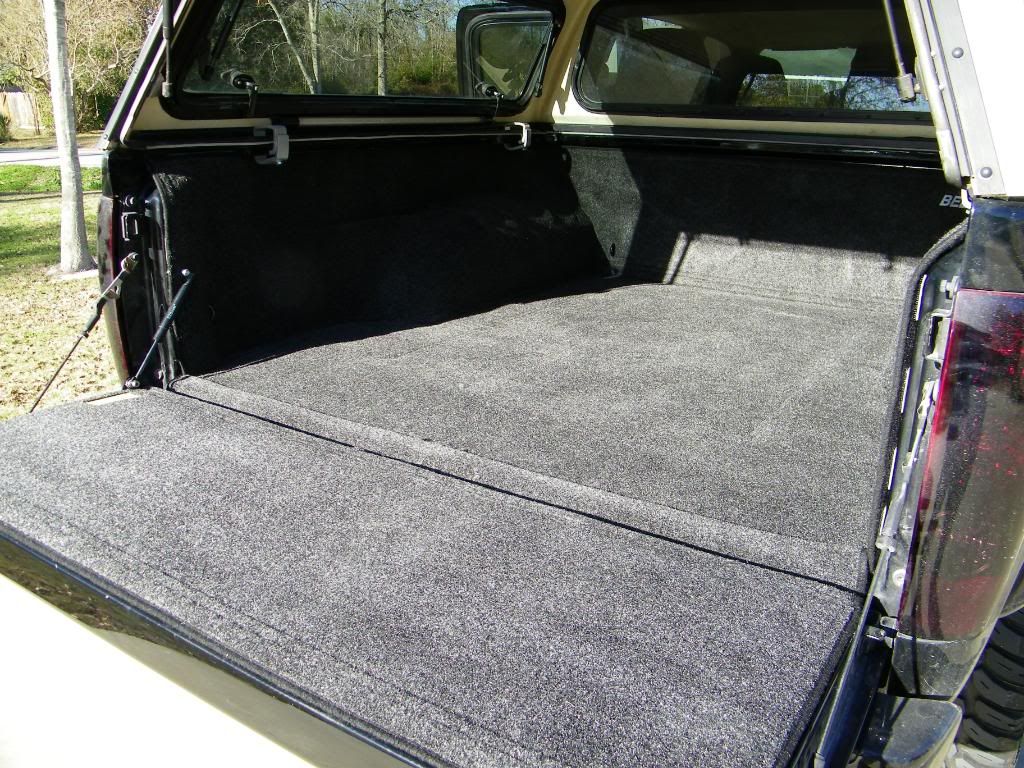
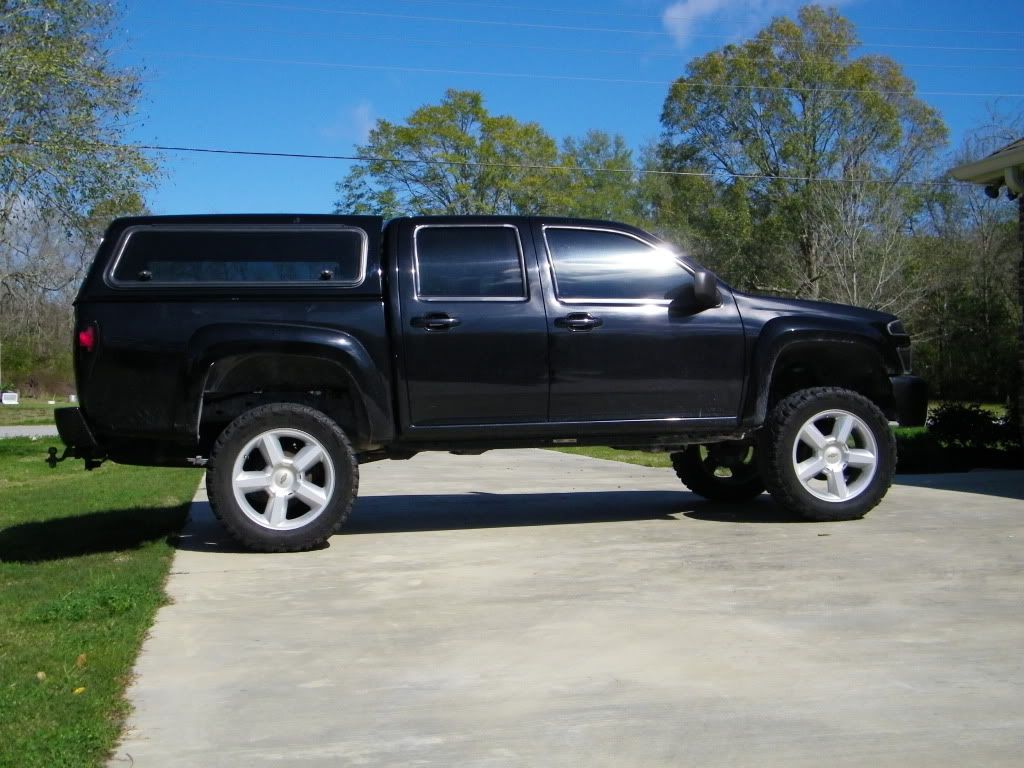
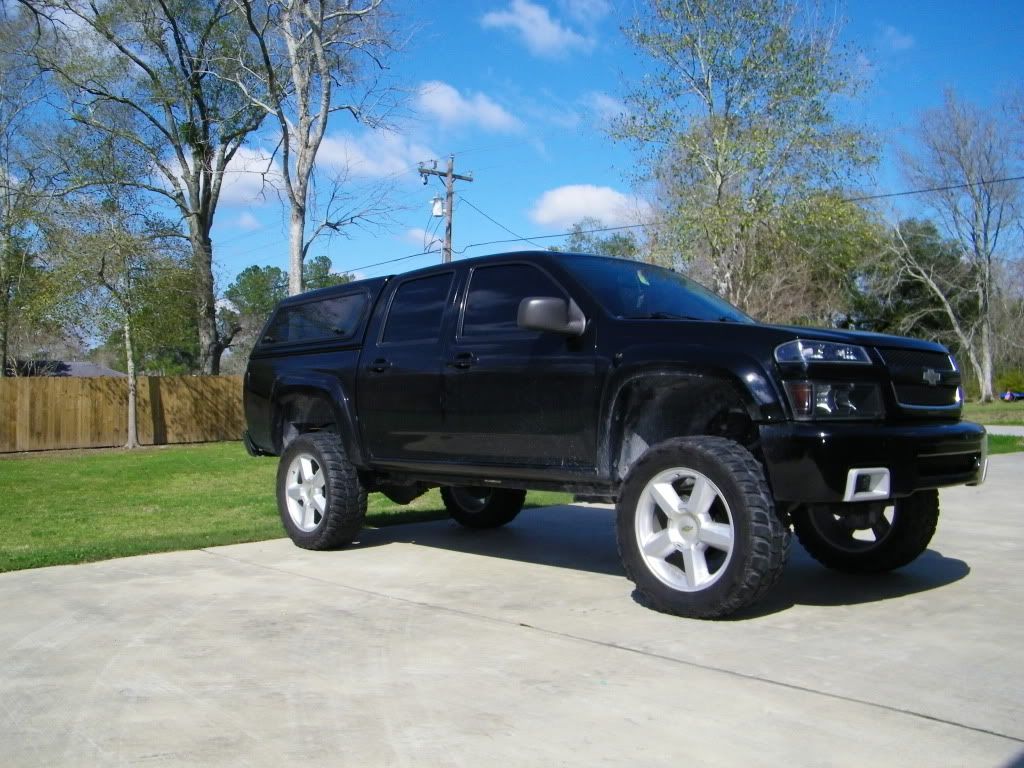
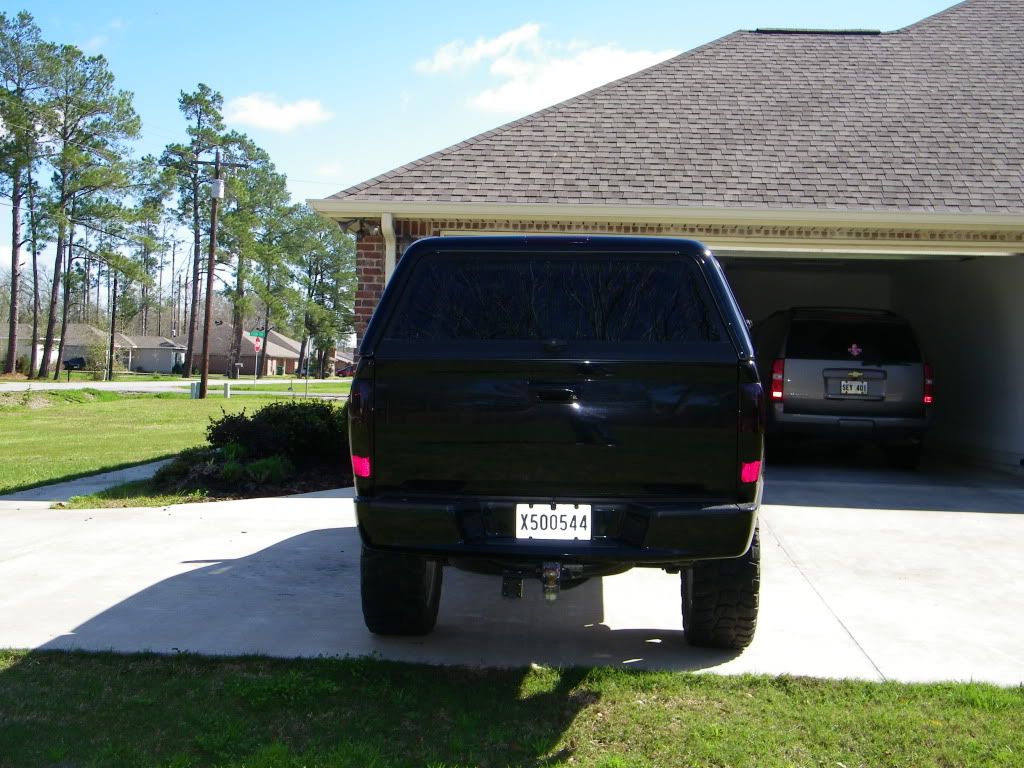
Then came the bed rug and camper shell, switched to an Xtreme rear bumper, and back to stock mirrors.
![Image]()
![Image]()
![Image]()
![Image]()
Smoothed and painted stock mirrors, ditched headlight covers, baked the headlights and smoked the amber reflectors, and changed wheels to 20x9 BMF Novakanes.
![Image]()
![Image]()
![Image]()
No pics of it stock, since it was lowered 3/3 and the wheels went on it the first night I had it.
Then had the windows tinted, added headlight covers, the GM accessory grill with billet bow tie, SS mirriors, smoked tails and 3rd brake light, also added a undercover bedcover with LED bed lights, and removed all molding/badges.
Then blacked out the grill mesh, shortened the stock antenna, painted door handles and tailgate handle, and added the SS Gen 2 bumper cover.
Somewhere along the lines I added a SS rollpan, but forgot to snap a pic of the truck lowered with the rollpan.
Then had a little change of heart and decided to lift the truck.
5" CST spindle, 2.5" strut spacer, and DHP 1/2" longer and adjustable upper control arms in the front, and SOA in the rear.
Took the bumper cover off until I was sure that I wanted to put it back on, didn't want to cut it if I was possibly gonna sell it.
Then it was time to upgrade the music, built a box for a JL 10w3 and installed the Cadence amplifiers and components, Pioneer AVH-4200 double din dvd w/XM tuner, and installed 100 sq ft of fatmat.
Well got her all back together bumper cover back on vents painted silver, fogs back on and re-located to match the openings on the bumper, 6K HID's in the lows and fogs, supermod amber sequential drl/blinkers, painted Z71 flares, smmoth gas door, and removed roll pan and put painted factory bumper and hitch back on.

Modded a set of 9005 headlight bulbs to fit in the reverse lights.

Stock right, 9005 bulb left.
Next came the H3 cloth buckets, Console with H3 shifter, and custom filler panel to fill the gap. LED footwell lights, LED cupholder mod, and Supermod white LED dome light had been installed earlier.
Then came the bed rug and camper shell, switched to an Xtreme rear bumper, and back to stock mirrors.
Smoothed and painted stock mirrors, ditched headlight covers, baked the headlights and smoked the amber reflectors, and changed wheels to 20x9 BMF Novakanes.