

i thought i would throw up a build thread to keep all of what ive done in the one place so here it is!!
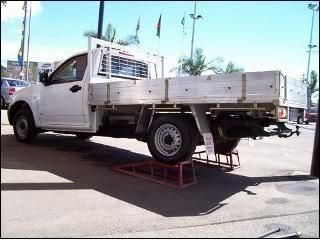
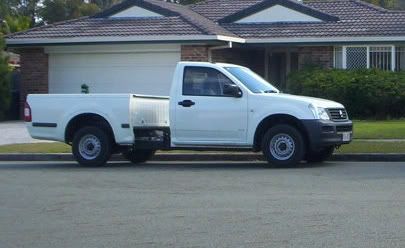
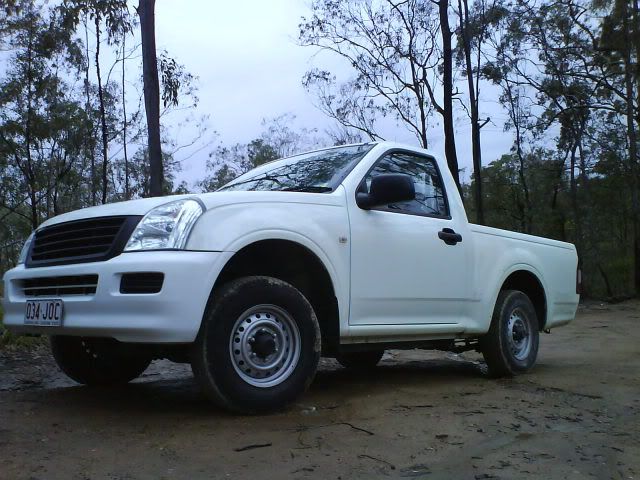
how she started off.
an alloy tray back work truck!
![Image]()
![Image]()
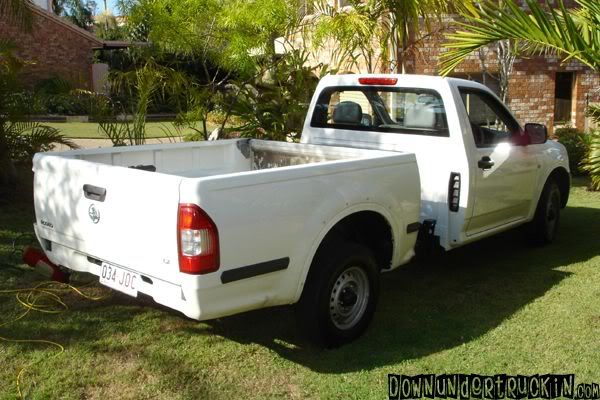
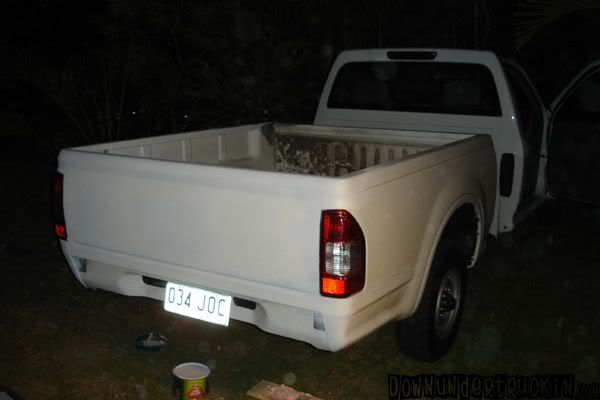
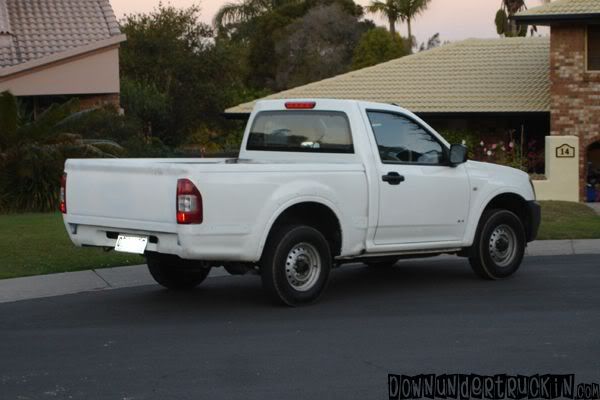
bought a bed for it
![Image]()
![Image]()
welded tailgate and handle
![Image]()
shortned the chassis 640mm (25 inchs), made one piece tail shaft, relocated fuel tank, shortned brake lines.
![Image]()
![Image]()
painted the bumper
![Image]()
roll pan
![Image]()
![Image]()
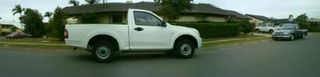
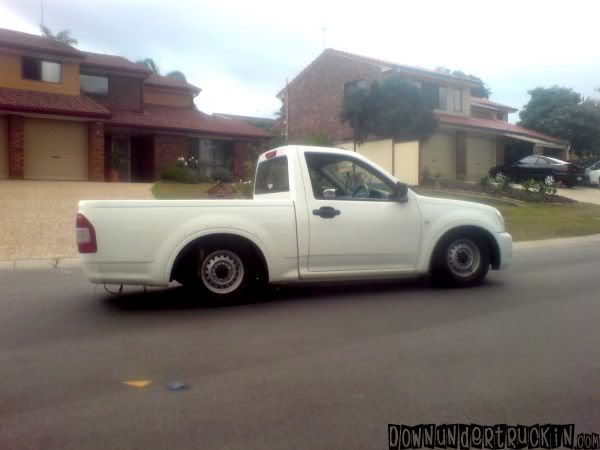
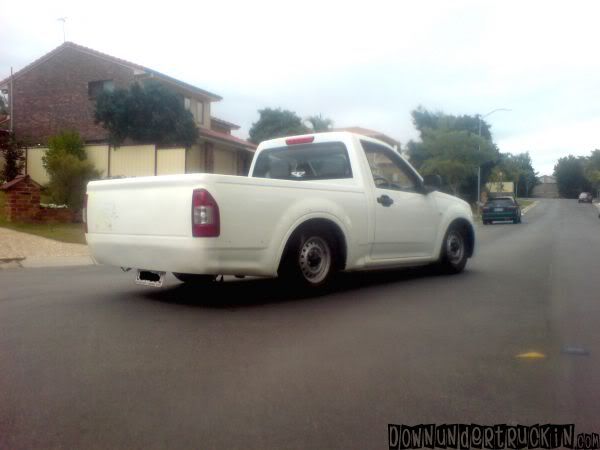
brought her a foot closer to the ground!
![Image]()
![Image]()
![Image]()
then i drove her and abused her for about a year or so and then the real fun began!!!
i got to head out for the night so will get to the good part tomorow! hahaha.
enjoy
stu
how she started off.
an alloy tray back work truck!

bought a bed for it
welded tailgate and handle
shortned the chassis 640mm (25 inchs), made one piece tail shaft, relocated fuel tank, shortned brake lines.

painted the bumper
roll pan
brought her a foot closer to the ground!

then i drove her and abused her for about a year or so and then the real fun began!!!
i got to head out for the night so will get to the good part tomorow! hahaha.
enjoy
stu
")


