Here's a photo journal of the mods that I've done to my truck since I bought it. I'll keep the new stuff at the top.
Note: Most of the picture captions are clickable.
Ebony Dash Bezels (04-27-2017)
![Image]()
Luxury Door Sill Plates (04-17-2017)
![Image]()
Clear Corners (round 2) (01/26/2017)
![Image]()
Wicked Kreations Key Fob (12/24/2016)
![Image]()
Famous Dave's BBQ Meet (09/03/2016)
![Image]()
Shank Park Photo Shoot at NESM 8 (08/20/2016)
![Image]()
NESM 8 Prep (08/18/2016)
![Image]()
Lake Nockamixon and Lake Towhee Photo Shoot (05-20-2016)
![Image]()
Glencairn Estate, Bryn Athyn, PA Photo Shoot (10/22/2016)
![Image]()
Riegelsville Bridge (09/18/2016)
![Image]()
GM Air Flow Indicator (07/30/2016)
![Image]()
Airport Photo Shoot (05/25/2015)
![Image]()
DRL Cover RivNuts and Screw Caps
![Image]()
![Image]()
Antenna Plug Cover (05/23/2015)
![Image]()
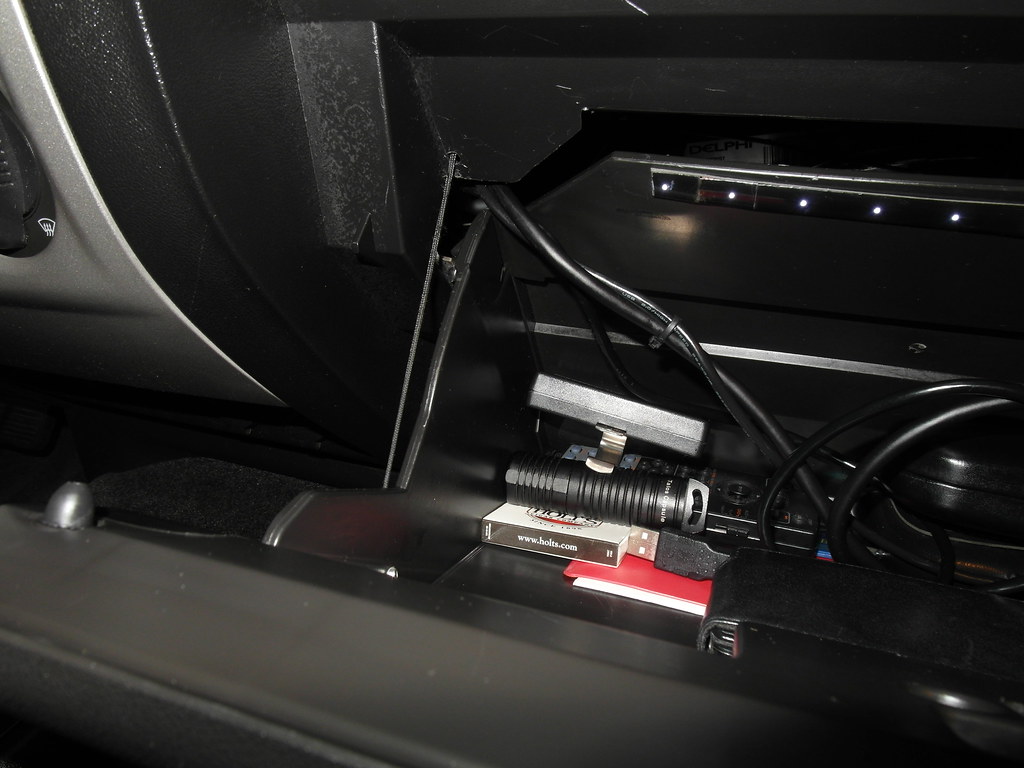
EZ-Down Glove Box (05/21/2015)
![Image]()
Airbag Warning Stickers Removed from Sunshade Visors (05/19/2015)
![Image]()
Colormatched Hood Struts (05/05/2015)
![Image]()
Reinstalled Clear Reflectors (04/20/2015)
![Image]()
H3 Floor Shift Conversion (07/28/2014)
![Image]()
My RPO Codes (01/22/2015)
![Image]()
New BFGoodrich g-Force T/A KDWS Tires
![Image]()
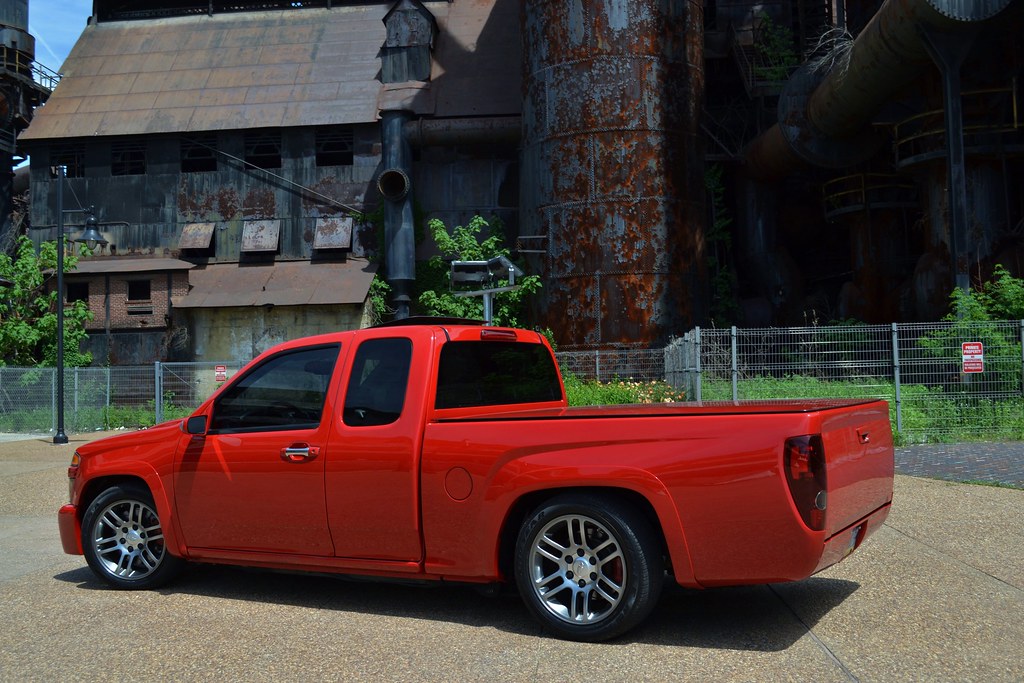
Bethlehem Steel Plant Photo Shoot
![Image]()
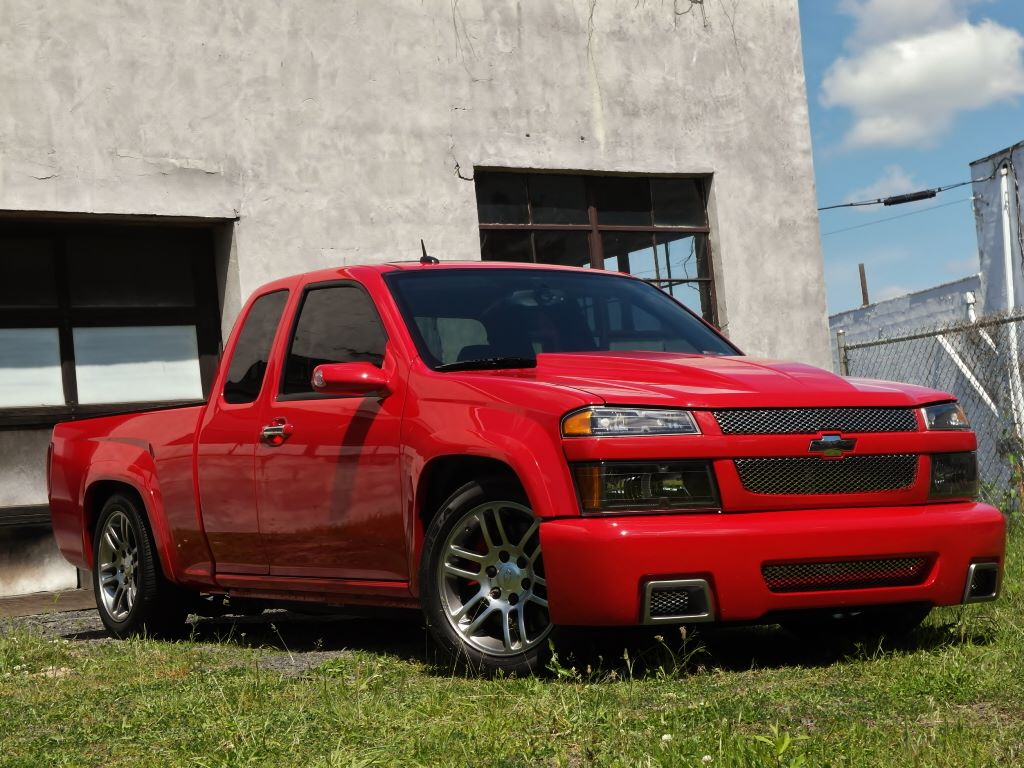
Abandoned Auto Body Shop Shoot
![Image]()
Odyssey Battery Installed
![Image]()
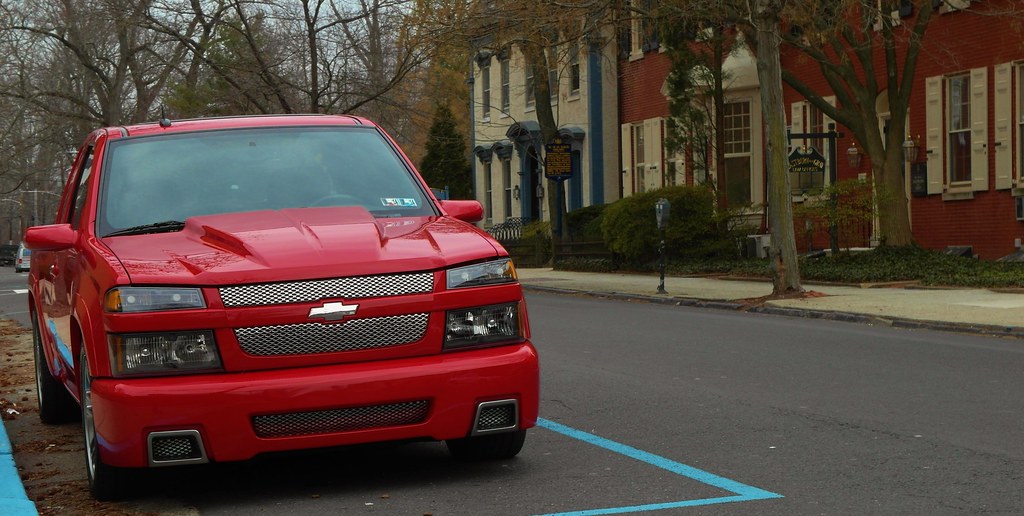
Bucks County Court House Photo Shoot
![Image]()
River Road Photo Shoot
![Image]()
Supermodulation DayTime Running Light Conversion Kit (10/13/2012)
![Image]()
Hummer H3 Negative Battery Terminal Cover (9/28/2012)

[URL="http://www.355nation.net/forum/projects-build/28201-rshadds-build-journal-15.html#post1689683"]Clear Reflectors (7/07/2012)
![Image]()
LED Tail Lights ala Supermodulation (4/08/2012)
![Image]()
VVME 6000k HID's (3/19/2012)
![Image]()
QA1 Top Stud Converison (3/19/2012)
![Image]()
Smokin' Hot (8/23/2011)
![Image]()
SSBC Disc Brake Conversion (8/23/2011)
![Image]()
Fresh Pics (5/11/2011)
![Image]()
New intake tube and painted TBSS cover (3/12/2011)
![Image]()
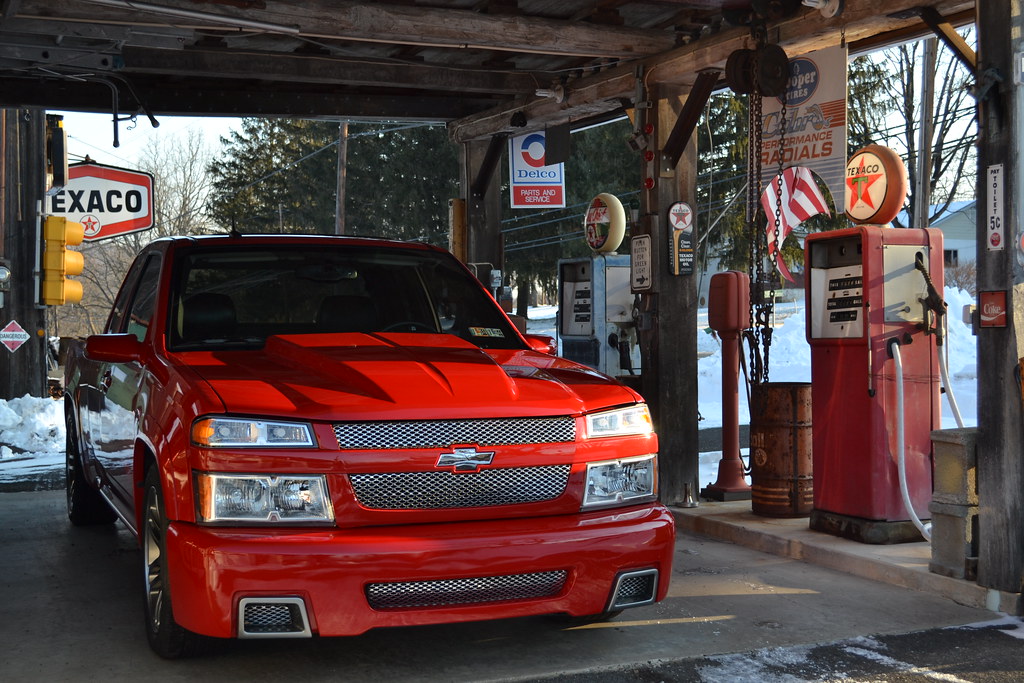
Klaum's Service Station Photo Shoot (1/23/2011)
![Image]()
(1/6/2011)
Wycombe Station Photo Shoot (1/5/2011)
![Image]()
Red HVAC Controls (12/18/2010)
![Image]()
Red Headlight Switch (12/12/2010)
![Image]()
Red Door Switches (12/4/2010)
![Image]()
Leather door panels (12/4/2010)
![Image]()
Spare Tire Cover (12/4/2010)
![Image]()
Red LED Cluster (10/23/2010)
![Image]()
Extreme Headlamps and Parking Lamps (10/20/2010)
![Image]()
Clear Reflectors (09/18/2010)
![Image]()
Billet Super Servos (09/11/2010)
![Image]()
Moravian Tile Works Photo Shoot (09/09/2010)
![Image]()
Parking Garage Photo Shoot (09/02/2010)
![Image]()
Down by the Railroad Tracks Photo Shoot (09/01/2010)
![Image]()
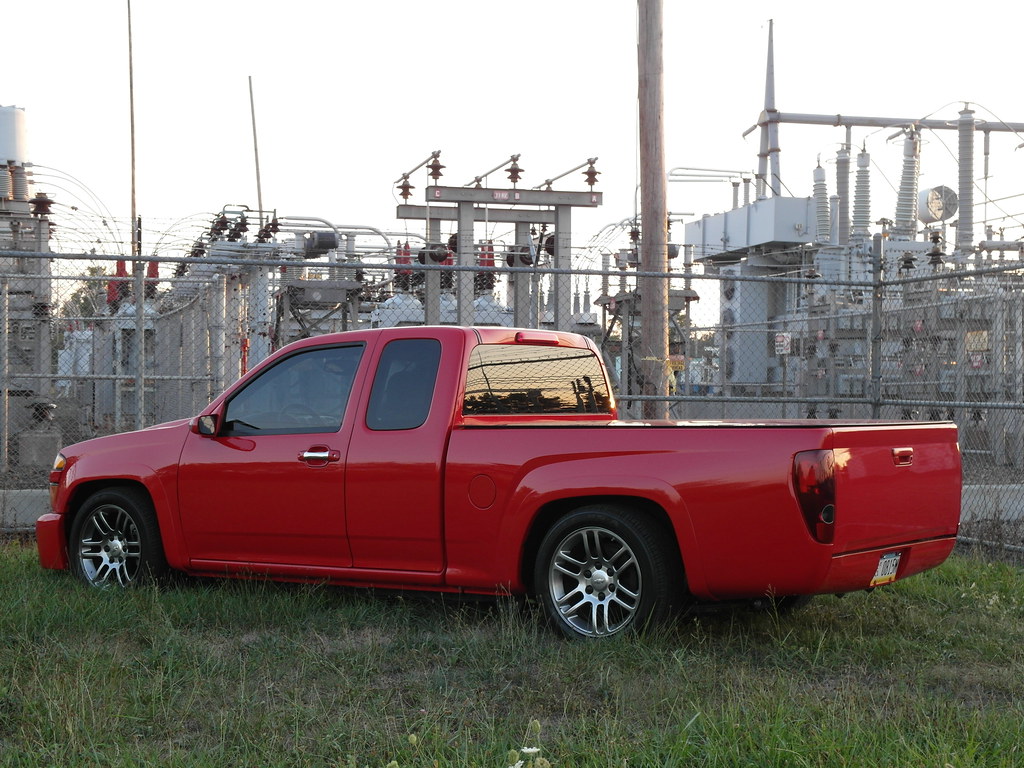
PECO Substation Photo Shoot (08/19/2010)
![Image]()
Campbell's Pond Photo Shoot (08/17/2010)
![Image]()
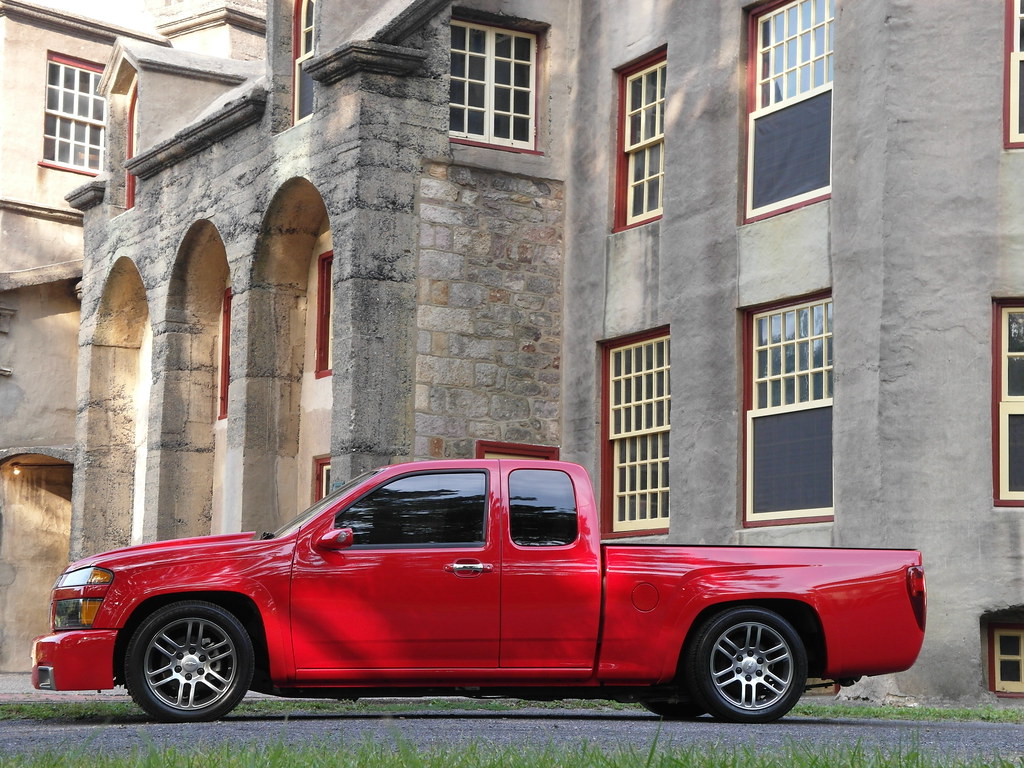
Font Hill Photo Shoot (08/17/2010)
![Image]()
Colored matched the EZDown strut (08/14/2010)
![Image]()
TBSS Engine Cover (07/21/2010)
![Image]()
Late Night Cruisin' (07/11/2010)
![Image]()
Railroad Bridge Pics (07/08/2010)
![Image]()
H3 Hummer Leather Armrest (07/05/2010)
![Image]()
EZ-Down Tailgate Dampener Installed (07/02/2010)
![Image]()
Fresh pics.. (6/22/2010)
![Image]()
![Image]()
EZ-Down Tailgate damper (6/2010)
![Image]()
Transmission Shift Cable Bracket Modification (5/7/2010)
![Image]()
Replaced U-Bolts with longer U-Bolts. (5/7/2010)
![Image]()
Dual Borla ProXS Exhaust (4/2010)
![Image]()
3" Static drop (04/2010)
![Image]()
Red Gauge Pointers (04/2010)
![Image]()
Spring Pics (04/2010)
![Image]()
QA1 Adjustable Coilovers and QA1 Rear Shocks (03/2009)
![Image]()
AIRBAGIT Frame Notch Kit (03/2010)
![Image]()
JTR 3" Rear Lowering Kit & Drive Shaft Alignment Kit (03/2010)
![Image]()
SSK QA1 Goodies (03/2010)
![Image]()
AllSales Black Billet Shorty (21") Antenna (03/2010)
![Image]()
GM Homelink (03/2009)
![Image]()
JTR Low Profile Cross Member Installed - (03/2010)
![Image]()
Flipped LED 3rd Brake Light - (03/2010)
![Image]()
Reflection in a '32 Ford headlamp housing.
![Image]()
Swapped out the rear slider for solid glass - (02/2010)
![Image]()
President's Day Photo Shoot (02/2010)
![Image]()
![Image]()
All Washed Up (02/2010)
![Image]()
![Image]()
Lloyd's LUX Floor Mats
![Image]()
The Wolf! - Farva Black Nickle Auto Transmision Shifter (1/2010)
![Image]()
The Wolf! - Farva Black Nickle Hand Controls (1/2010)
![Image]()
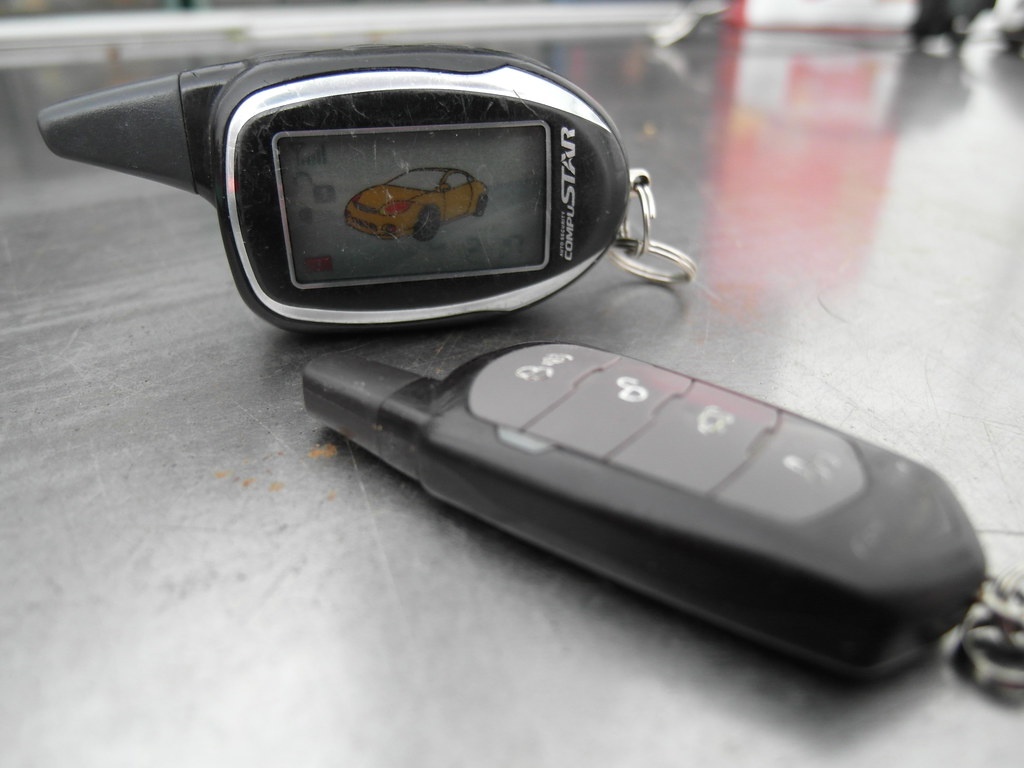
Compustar Remote Starter (01/2010)
GM Coin Holder
![Image]()
GM Silicon Cup Holder Inserts
![Image]()
SuperModulation LED 3rd Brake Light (11/2009)
![Image]()
Rear Bumper Garage Shelf (11/2009)
![Image]()
Windows Tinted (18%) 11/2009
![Image]()
My Entourage..
![Image]()
Small (ZQ8) Flares (10/2009)
![Image]()
DRL Covers (11/2009)
![Image]()
SuperModulation LED dome light
![Image]()
SuperModulation's Sequential Amber Signals
![Image]()
Rear View Camera
![Image]()
![Image]()
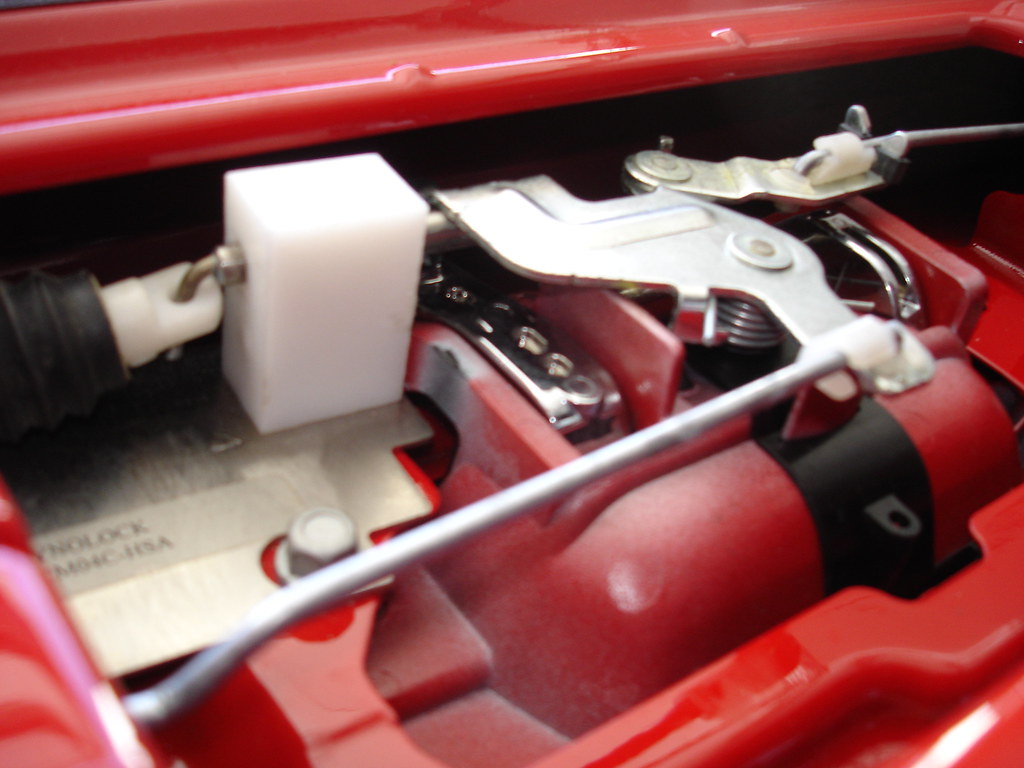
Dynolock Tailgate Lock
![Image]()
Kenwood eXcelon DNX-9140
![Image]()
Microphone for voice commands
![Image]()
Push-to-Talk Button under Console Lid
![Image]()
Hidden GPS Antenna and EZ-Pass
![Image]()
SuperModulation's White LED Footwell and Glovebox lights.
![Image]()
Mercury Tilt Switch in Tailgate to Control LED Cargo Lights.
![Image]()
SuperModulation's White LED Lights along the bed rails
![Image]()
Street Scene Dual Signal Mirrors with Heat
![Image]()
Cowl Hood and Street Scene Gen II Bumper Cover
![Image]()
Color Match Billet License Plate Frame with LED Lite-N-Boltz.
![Image]()
Street Scene Roll Pan
![Image]()
Redline Tuning Elite Hood Struts (07/2009)
![Image]()
Custom Upholstered Tonneau Cover and BedRug (06/2009)
![Image]()
LT Sport Aluminum Tonneau Cover (06/2009)
![Image]()
Stebel Horns (06/2009)
![Image]()
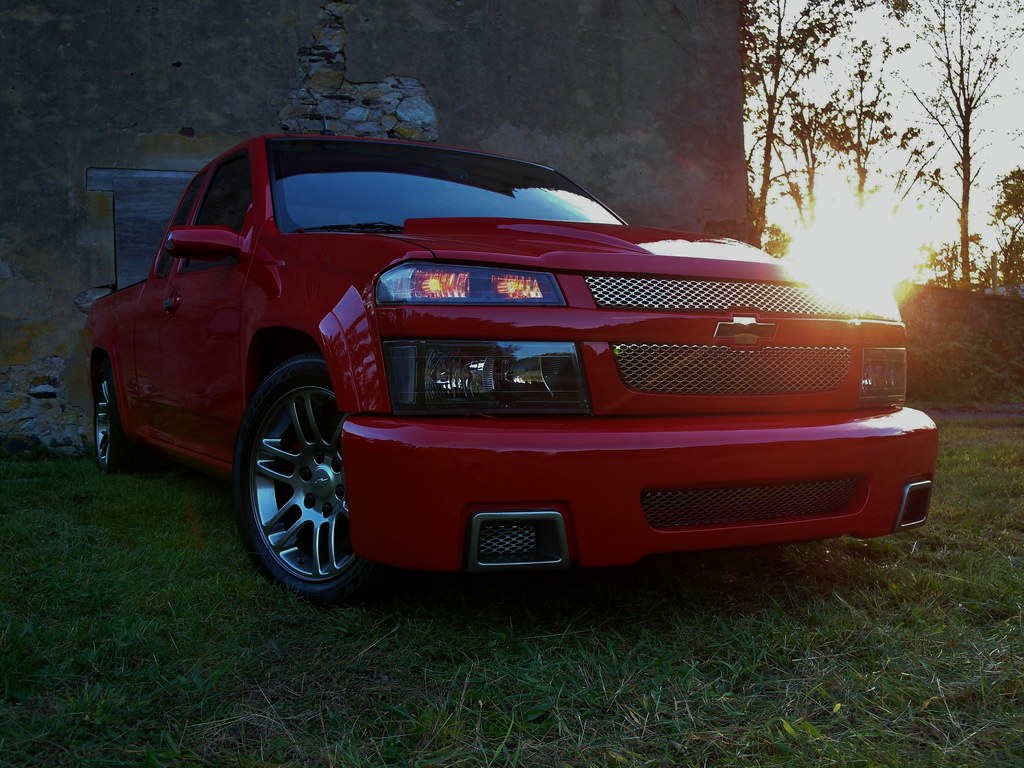
Street Scene Speed Grills/Bowtie (06/2009)
![Image]()
Full Debadge and Smoothed Fuel Door (06/2009)
![Image]()
5.3L V8 - 300hp (06/2009)
![Image]()
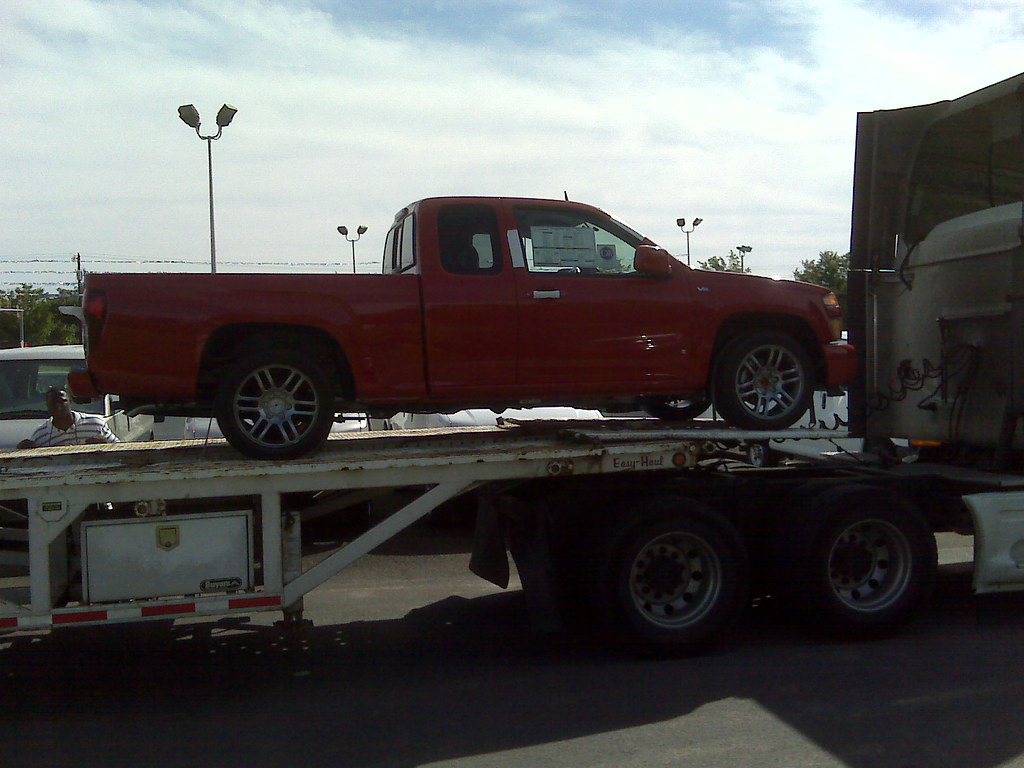
Delivery Day - June 2, 2009
![Image]()
Window Sticker... Yep, it's loaded.
![Image]()
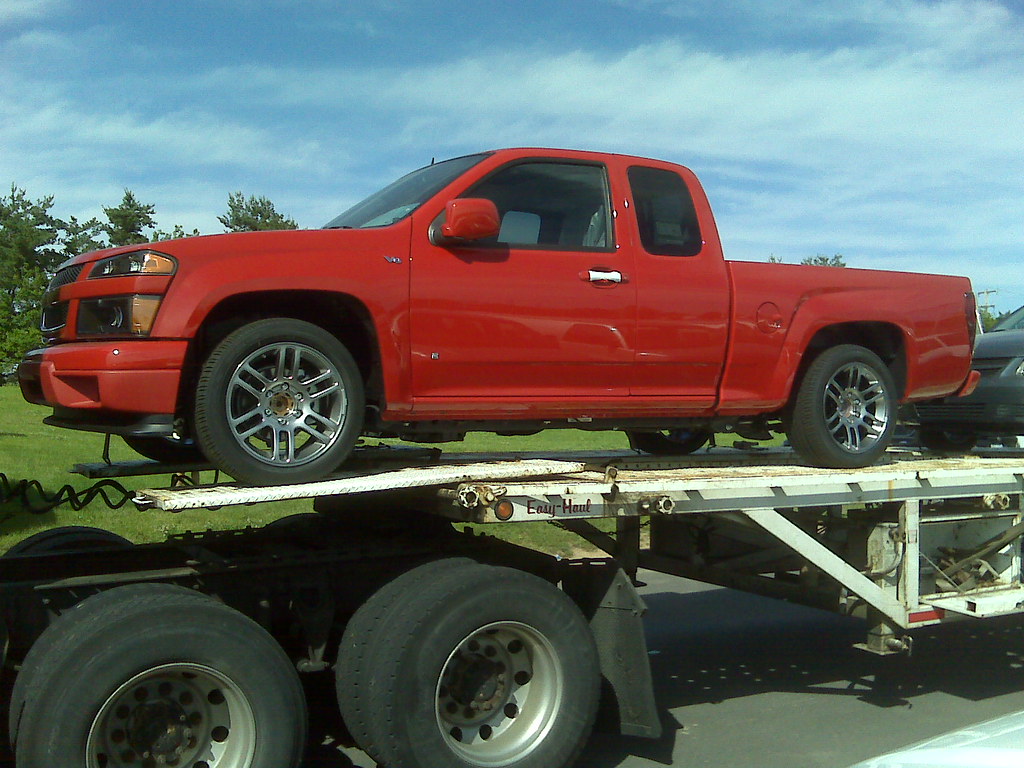
Brand Spankin' New! (06/2009)
![Image]()
http://www.355nation.net/forum/new-...forum/new-member-introductions/18783-new-2009-colorado-v8-owner.html#post462674
Note: Most of the picture captions are clickable.
Ebony Dash Bezels (04-27-2017)

Luxury Door Sill Plates (04-17-2017)

Clear Corners (round 2) (01/26/2017)

Wicked Kreations Key Fob (12/24/2016)

Famous Dave's BBQ Meet (09/03/2016)

Shank Park Photo Shoot at NESM 8 (08/20/2016)

NESM 8 Prep (08/18/2016)

Lake Nockamixon and Lake Towhee Photo Shoot (05-20-2016)

Glencairn Estate, Bryn Athyn, PA Photo Shoot (10/22/2016)

Riegelsville Bridge (09/18/2016)

GM Air Flow Indicator (07/30/2016)

Airport Photo Shoot (05/25/2015)
DRL Cover RivNuts and Screw Caps


Antenna Plug Cover (05/23/2015)

EZ-Down Glove Box (05/21/2015)
Airbag Warning Stickers Removed from Sunshade Visors (05/19/2015)

Colormatched Hood Struts (05/05/2015)

Reinstalled Clear Reflectors (04/20/2015)

H3 Floor Shift Conversion (07/28/2014)

My RPO Codes (01/22/2015)

New BFGoodrich g-Force T/A KDWS Tires

Bethlehem Steel Plant Photo Shoot
Abandoned Auto Body Shop Shoot
Odyssey Battery Installed

Bucks County Court House Photo Shoot
River Road Photo Shoot
Supermodulation DayTime Running Light Conversion Kit (10/13/2012)

Hummer H3 Negative Battery Terminal Cover (9/28/2012)
[URL="http://www.355nation.net/forum/projects-build/28201-rshadds-build-journal-15.html#post1689683"]Clear Reflectors (7/07/2012)

LED Tail Lights ala Supermodulation (4/08/2012)

VVME 6000k HID's (3/19/2012)

QA1 Top Stud Converison (3/19/2012)

Smokin' Hot (8/23/2011)

SSBC Disc Brake Conversion (8/23/2011)

Fresh Pics (5/11/2011)

New intake tube and painted TBSS cover (3/12/2011)

Klaum's Service Station Photo Shoot (1/23/2011)
Wycombe Station Photo Shoot (1/5/2011)

Red HVAC Controls (12/18/2010)

Red Headlight Switch (12/12/2010)

Red Door Switches (12/4/2010)

Leather door panels (12/4/2010)

Spare Tire Cover (12/4/2010)

Red LED Cluster (10/23/2010)

Extreme Headlamps and Parking Lamps (10/20/2010)

Clear Reflectors (09/18/2010)

Billet Super Servos (09/11/2010)

Moravian Tile Works Photo Shoot (09/09/2010)

Parking Garage Photo Shoot (09/02/2010)

Down by the Railroad Tracks Photo Shoot (09/01/2010)

PECO Substation Photo Shoot (08/19/2010)
Campbell's Pond Photo Shoot (08/17/2010)

Font Hill Photo Shoot (08/17/2010)
Colored matched the EZDown strut (08/14/2010)

TBSS Engine Cover (07/21/2010)

Late Night Cruisin' (07/11/2010)

Railroad Bridge Pics (07/08/2010)

H3 Hummer Leather Armrest (07/05/2010)

EZ-Down Tailgate Dampener Installed (07/02/2010)

Fresh pics.. (6/22/2010)


EZ-Down Tailgate damper (6/2010)

Transmission Shift Cable Bracket Modification (5/7/2010)

Replaced U-Bolts with longer U-Bolts. (5/7/2010)

Dual Borla ProXS Exhaust (4/2010)

3" Static drop (04/2010)

Red Gauge Pointers (04/2010)

Spring Pics (04/2010)

QA1 Adjustable Coilovers and QA1 Rear Shocks (03/2009)

AIRBAGIT Frame Notch Kit (03/2010)

JTR 3" Rear Lowering Kit & Drive Shaft Alignment Kit (03/2010)

SSK QA1 Goodies (03/2010)

AllSales Black Billet Shorty (21") Antenna (03/2010)

GM Homelink (03/2009)

JTR Low Profile Cross Member Installed - (03/2010)

Flipped LED 3rd Brake Light - (03/2010)

Reflection in a '32 Ford headlamp housing.

Swapped out the rear slider for solid glass - (02/2010)

President's Day Photo Shoot (02/2010)


All Washed Up (02/2010)


Lloyd's LUX Floor Mats

The Wolf! - Farva Black Nickle Auto Transmision Shifter (1/2010)

The Wolf! - Farva Black Nickle Hand Controls (1/2010)

Compustar Remote Starter (01/2010)
GM Coin Holder

GM Silicon Cup Holder Inserts

SuperModulation LED 3rd Brake Light (11/2009)

Rear Bumper Garage Shelf (11/2009)

Windows Tinted (18%) 11/2009

My Entourage..

Small (ZQ8) Flares (10/2009)

DRL Covers (11/2009)

SuperModulation LED dome light

SuperModulation's Sequential Amber Signals

Rear View Camera


Dynolock Tailgate Lock
Kenwood eXcelon DNX-9140

Microphone for voice commands

Push-to-Talk Button under Console Lid

Hidden GPS Antenna and EZ-Pass

SuperModulation's White LED Footwell and Glovebox lights.

Mercury Tilt Switch in Tailgate to Control LED Cargo Lights.

SuperModulation's White LED Lights along the bed rails

Street Scene Dual Signal Mirrors with Heat

Cowl Hood and Street Scene Gen II Bumper Cover

Color Match Billet License Plate Frame with LED Lite-N-Boltz.

Street Scene Roll Pan

Redline Tuning Elite Hood Struts (07/2009)

Custom Upholstered Tonneau Cover and BedRug (06/2009)

LT Sport Aluminum Tonneau Cover (06/2009)

Stebel Horns (06/2009)

Street Scene Speed Grills/Bowtie (06/2009)

Full Debadge and Smoothed Fuel Door (06/2009)

5.3L V8 - 300hp (06/2009)

Delivery Day - June 2, 2009

Window Sticker... Yep, it's loaded.

Brand Spankin' New! (06/2009)

http://www.355nation.net/forum/new-...forum/new-member-introductions/18783-new-2009-colorado-v8-owner.html#post462674